
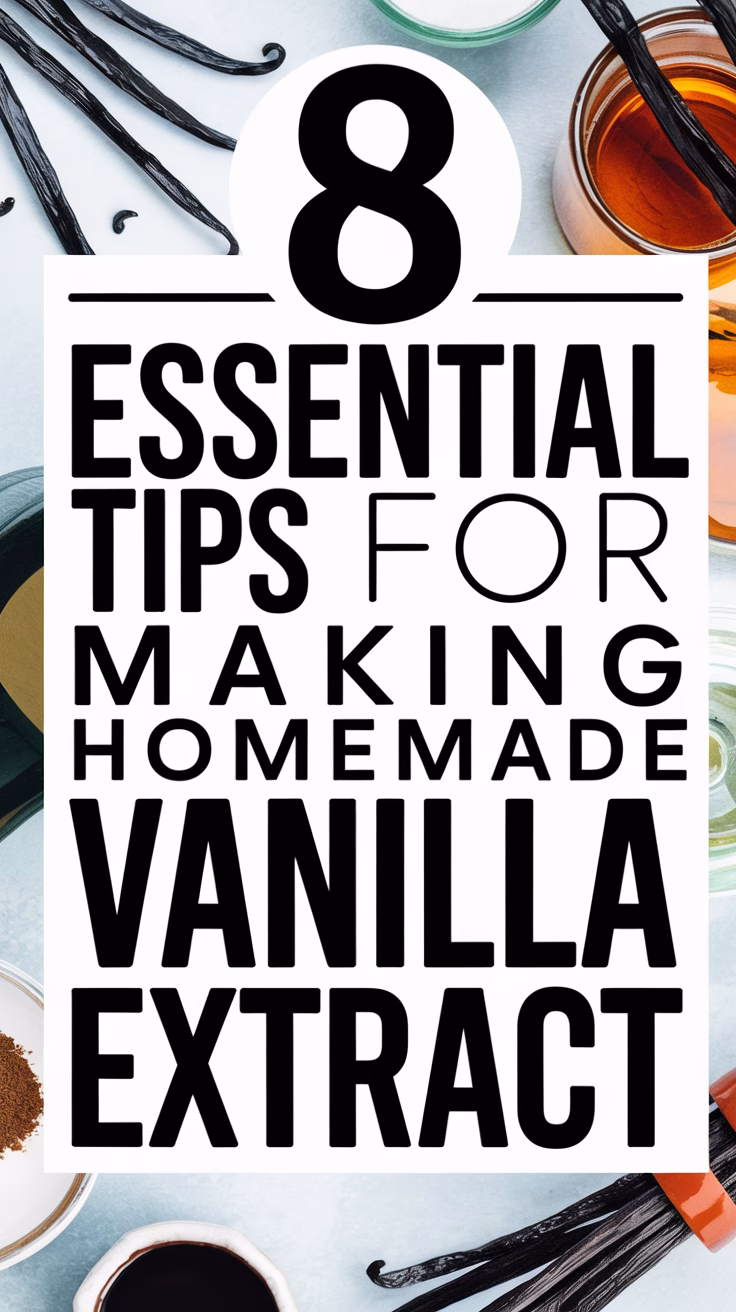
Making homemade vanilla extract is a fun and rewarding process that can transform your baking and cooking game. With just a few simple ingredients and some patience, you can create a rich, flavorful extract that far surpasses anything you’ll find at the store. Whether you’re using it in cakes, cookies, or savory dishes, homemade vanilla extract brings a depth of flavor that enhances every recipe. 8 essential tips for making homemade vanilla extract will guide you through the process, ensuring that your homemade extract is as delicious and aromatic as possible. Let’s jump right into some handy tips to help you get started!
Enhancing Flavor with Additional Ingredients

When making homemade vanilla extract, you can take the flavor to the next level with a few extra ingredients. The image shows two types of vanilla, lemon, and star anise, which are great additions for a unique twist. Using high-quality vanilla beans is key to a rich flavor, but don’t be afraid to experiment!
Adding lemon peel can brighten the flavor profile of your vanilla extract. The citrus notes blend beautifully with the sweetness of vanilla. If you’re curious about how to make pure vanilla extract, consider adding lemon for an extra zing.
Another exciting option is star anise. This spice gives a warm, licorice-like flavor, adding depth to your vanilla extract. You can easily incorporate it into your vanilla extract recipe with alcohol, whether you’re using vodka, rum, or bourbon. Just toss a few pieces into your jar, and let it infuse.
Using homemade vanilla extract in recipes can be a delightful experience, especially with these enhanced flavors. Whether you’re baking cookies or making a custard, the addition of lemon or star anise will surprise your taste buds. Plus, homemade vanilla extract gifts are always a hit, especially when you customize the flavor!
The Importance of Patience in Infusion
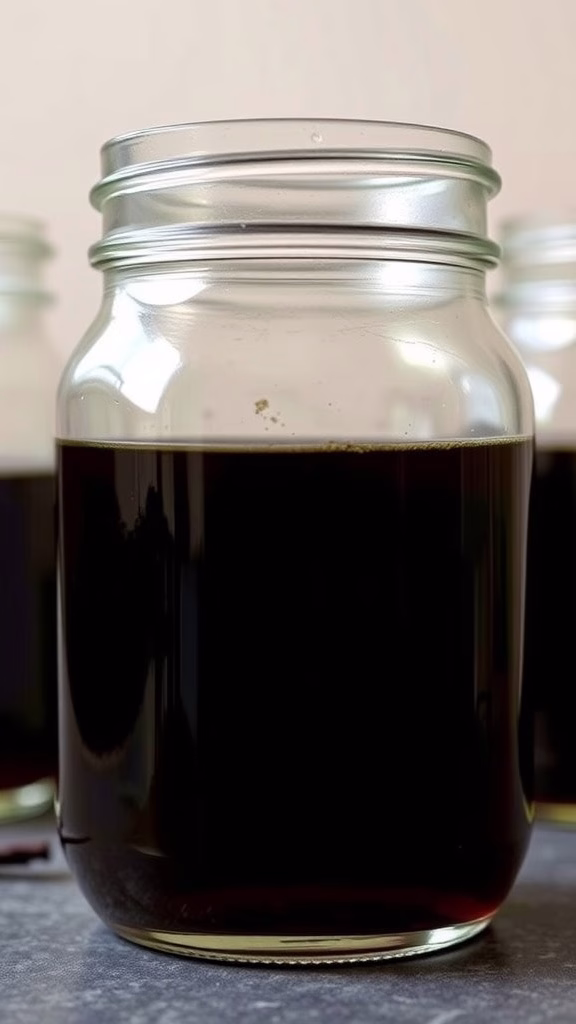
When you start making homemade vanilla extract, patience is key. The image shows a jar filled with rich, dark liquid. This is the result of vanilla beans infused in alcohol, developing its robust flavor over time.
The process of infusing vanilla beans into alcohol is simple yet requires time. If you’re wondering how to make pure vanilla extract, you’ll find that the longer you let it sit, the deeper the flavor becomes. It’s tempting to use it right away, but waiting can elevate your DIY vanilla extract to something truly special.
For a delicious homemade vanilla extract recipe, consider using vodka or rum. Both options work great and bring out different notes in the vanilla. Just remember, how long to age homemade vanilla extract can vary. Generally, letting it sit for at least two months can yield fantastic results.
Storing your vanilla extract properly is also essential. Keep it in a cool, dark place, and shake it occasionally to help with the infusion. This way, you can enjoy the homemade vanilla extract flavor in all your baking projects.
If you plan to give homemade vanilla extract gifts, consider making a batch ahead of time. It will be a treat for friends and family. Each bottle can be infused with love and a bit of patience!
The Ideal Ratio of Ingredients
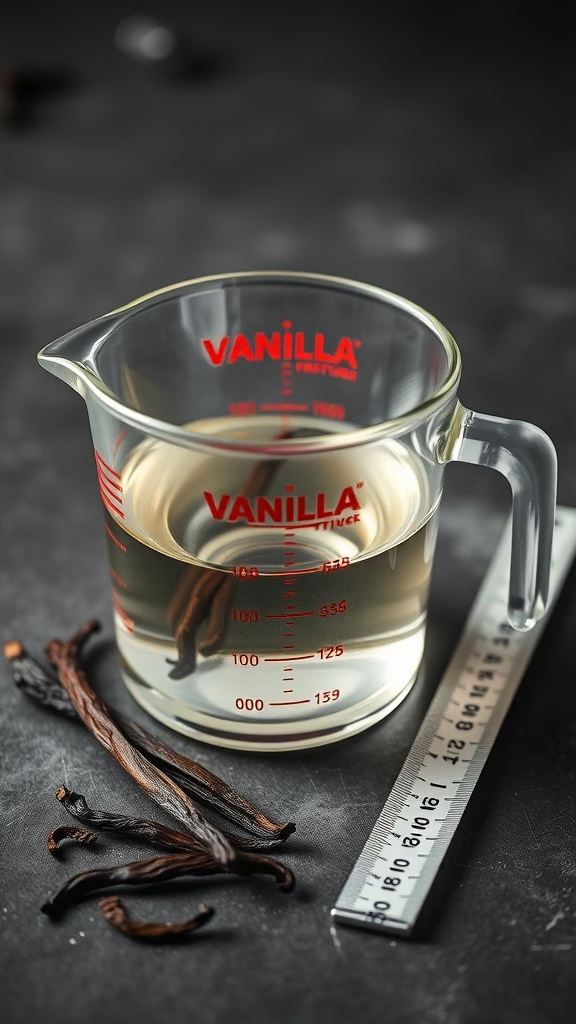
When it comes to making homemade vanilla extract, getting the ratio of vanilla beans to alcohol right is key. The image shows a measuring cup filled with clear liquid, perfect for infusing with the rich flavor of vanilla beans. You want to use around 1 ounce of vanilla beans for every cup of alcohol. This will ensure your extract is strong and flavorful.
Most recipes suggest using vodka, but you can also experiment with rum for a different twist. If you’re looking for non-alcoholic options, there are ways to make vanilla extract with glycerin. Just remember, the essence of vanilla is captured best in alcohol. So, stick to the basics if you’re after that traditional flavor.
As you begin your journey with this homemade vanilla extract recipe, be mindful of the quality of your beans. The best vanilla beans for making extract are plump and aromatic. Look for ones that are soft to the touch and have a rich, dark color. This will make a world of difference in your final product.
After mixing your ingredients, patience is essential. Let the mixture sit for at least 8 weeks, shaking it occasionally. This aging process enhances the homemade vanilla extract flavor. So, if you’re wondering how long to age homemade vanilla extract, mark it on your calendar!
Choosing the Right Vanilla Beans
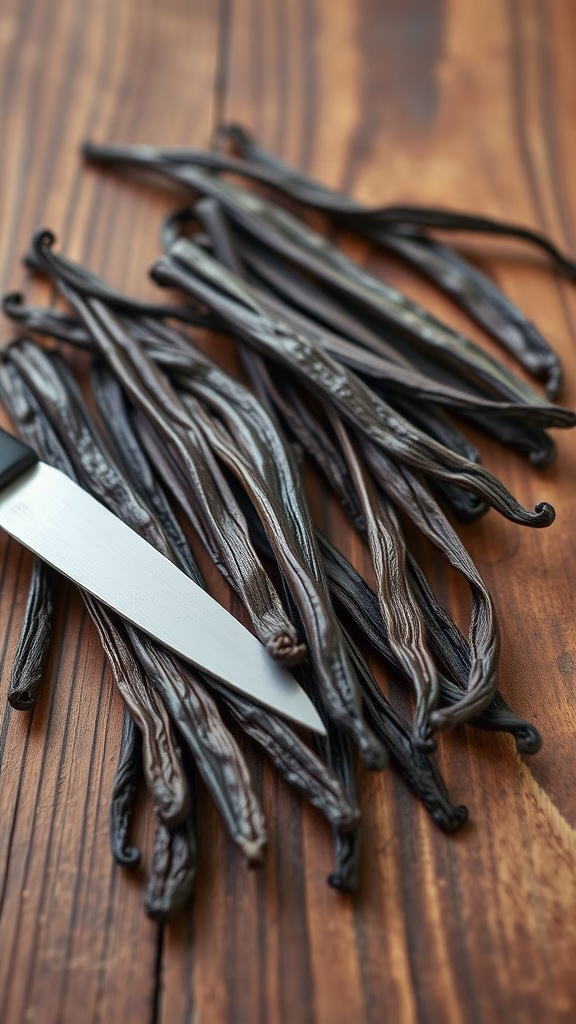
Picking the right vanilla beans is key when learning how to make homemade vanilla extract. In the image, you can see a selection of rich, dark vanilla pods laid out on a beautiful wooden surface, accompanied by a sharp knife ready for action. These beans are the star of the show!
There are many types of vanilla beans, but the most popular for making extract are Madagascar and Tahitian varieties. Madagascar beans are known for their classic, sweet flavor, while Tahitian beans offer a more floral and fruity note. If you’re wondering about homemade vanilla extract vs store-bought, the difference lies mainly in the quality of these beans.
When choosing your beans, look for ones that are plump and oily. They should have a strong aroma. This is a sign that they’re fresh and packed with flavor. If you’re curious about how to use vanilla beans to make extract, just remember that one bean typically infuses about one cup of alcohol, like vodka or rum.
For a simple vanilla extract recipe with alcohol, slice the beans lengthwise to expose the seeds inside, then place them in a jar with your chosen alcohol. Seal it up and let it infuse. How long to age homemade vanilla extract? A good rule of thumb is to let it sit for at least 8 weeks, but longer aging can boost the flavor.
For those making homemade vanilla extract gifts, consider using pretty bottles and adding a tag with instructions on how to use vanilla extract in recipes. This way, your friends can enjoy your homemade creation in their own baking adventures!
Properly Storing Your Extract
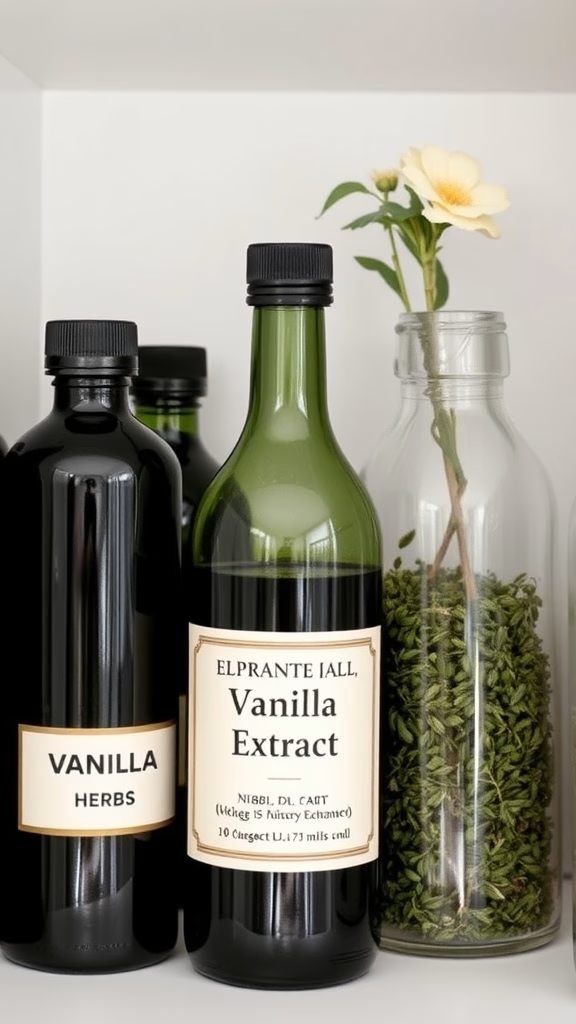
Storing your homemade vanilla extract correctly is key to preserving its rich flavor. As seen in the image, the right containers make a big difference. A dark glass bottle is ideal since it protects the extract from light, which can degrade its quality.
Keep your extract in a cool, dark place, like a pantry or cupboard. Avoid areas with high heat or direct sunlight. This helps maintain the homemade vanilla extract flavor for longer.
It’s also wise to label your bottles with the date you made the extract. This way, you can track how long to age homemade vanilla extract for the best flavor. Generally, letting it sit for at least a couple of months will enhance the taste.
If you want to share your creation, consider using cute bottles as homemade vanilla extract gifts. Friends and family will appreciate the personal touch.
Selecting the Perfect Alcohol Base
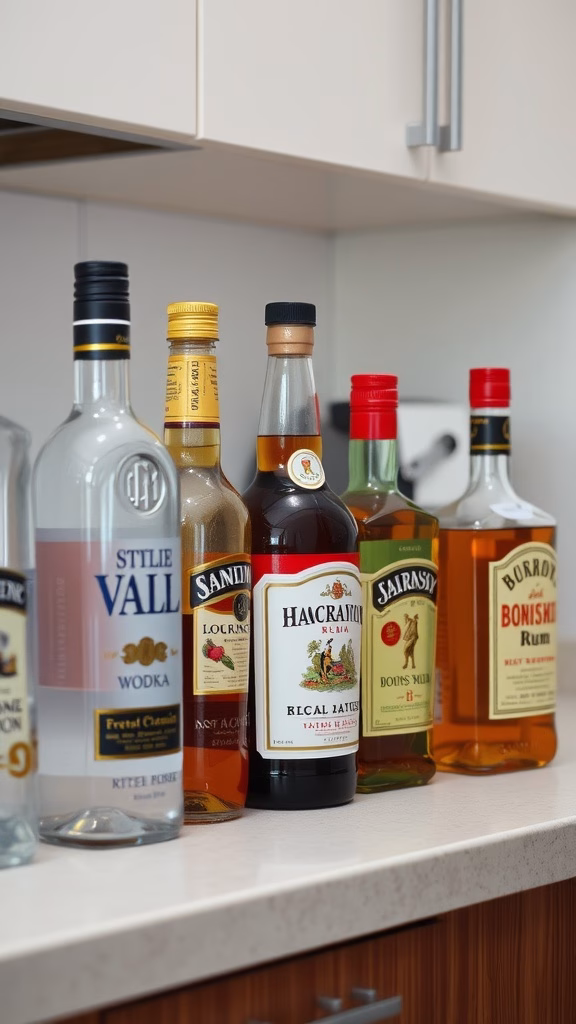
Choosing the right alcohol is key when learning how to make pure vanilla extract. The image shows various bottles of spirits lined up, highlighting options you might use. Each type of alcohol can affect the flavor and quality of your homemade vanilla extract.
For a classic choice, vodka is popular because it has a neutral taste that lets the vanilla shine. Making vanilla extract with vodka is straightforward and yields a clean, sweet flavor. If you’re looking for something different, you might try rum or bourbon. These can add richer notes to your extract, enhancing its depth.
When selecting a spirit, pay attention to the proof. A higher proof alcohol extracts more flavor from the vanilla beans, giving you a stronger and more aromatic extract. If you prefer a non-alcoholic version, vanilla extract with non-alcoholic options can be made using glycerin or vinegar, though they may not capture the same complexity.
Whatever option you choose, make sure it’s something you enjoy drinking, as this will only enhance your homemade vanilla extract flavor. Remember, the quality of the alcohol can impact the final product, so opt for something good!
Labeling and Dating Your Extract
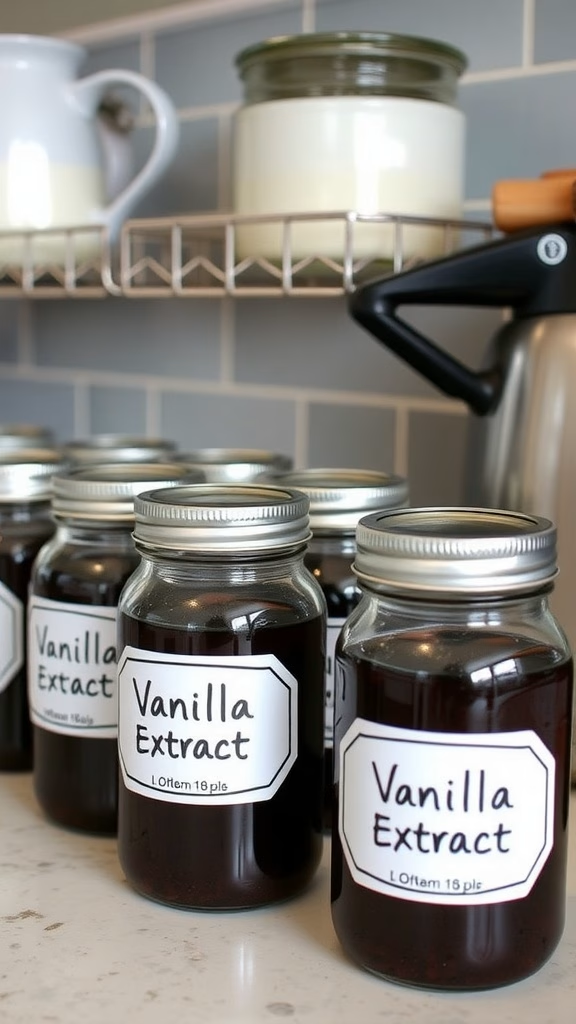
When you make homemade vanilla extract, it’s essential to keep track of what you’ve created. The image shows jars neatly labeled ‘Vanilla Extract,’ making it easy to see which ones are ready to use. This simple step can save you from confusion later on.
Labeling your jars should include the date you started the infusion. Knowing how long to age homemade vanilla extract is key for getting the best flavor. Typically, you’ll want to let it steep for at least 8 weeks, but longer is better. This info helps you remember which batch to use for your recipes.
If you’re making vanilla extract with vodka or experimenting with rum, include that detail on the label too. This way, you can quickly refer back to your notes when using homemade vanilla extract in recipes or gifting it to friends. A little organization goes a long way!
Creative Uses for Homemade Vanilla Extract
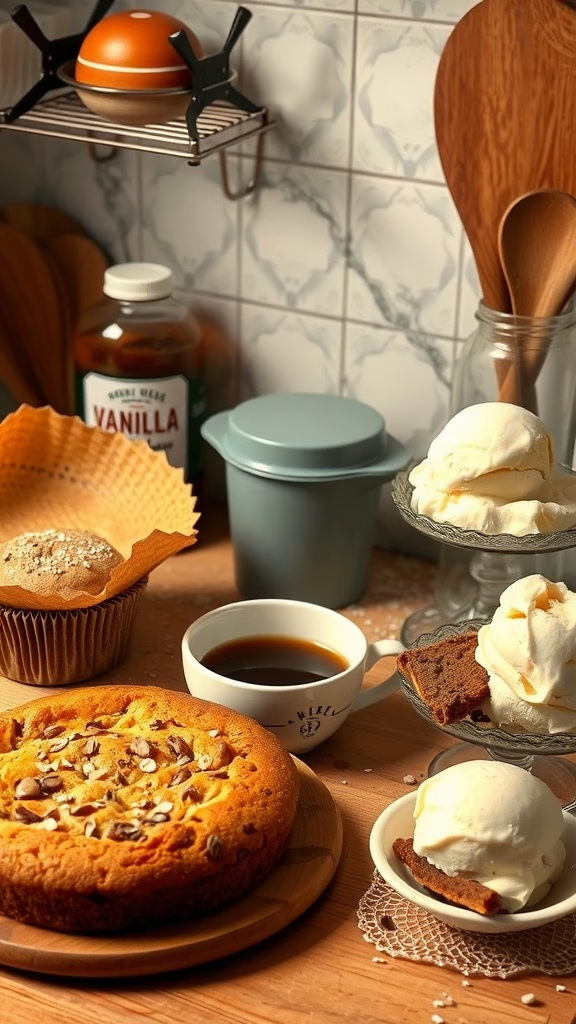
Homemade vanilla extract can elevate various dishes, making it a versatile ingredient in your kitchen. The image captures a cozy setup featuring a delicious vanilla cake, creamy ice cream, and a warm cup of coffee, all enhanced by the rich flavor of homemade vanilla extract.
You can use your extract in baking to add depth to cookies, cakes, and muffins. When making treats, consider using it in your favorite vanilla extract recipe with alcohol, like vodka or rum, to create a more robust flavor. It’s a great way to enhance homemade baked goods.
Homemade vanilla extract also works beautifully in beverages. A splash can transform your morning coffee into a delightful treat. Try adding it to smoothies or milkshakes for a sweet twist. If you’re curious about homemade vanilla extract tips for beginners, remember that a little goes a long way!
Another fantastic use is in desserts. Pour some on top of ice cream or mix it into whipped cream to take your desserts up a notch. You can even make homemade vanilla extract gifts for friends and family, sharing that delicious flavor with them. It’s a thoughtful touch for any occasion.
Finally, don’t forget that homemade vanilla extract is not just for baking. You can infuse it into savory dishes, like marinades or sauces, adding unexpected flavor. This ingredient can truly shine in a variety of recipes, making it a staple in any kitchen.
Create the Perfect Vanilla Extract
If you’re eager to start making your own vanilla extract or want to find local businesses that offer premium vanilla products, check out our dessert directory to discover small shops that may carry unique vanilla extracts or even offer workshops on how to make them. Supporting local businesses allows you to discover high-quality ingredients and expand your flavor horizons.
For those ready to create their own homemade vanilla extract, our collection of recipes offers ideas on how to incorporate your extract into everything from cookies to custards. Whether you’re gifting your homemade vanilla or using it in your own kitchen, our recipes will help you get the most out of this aromatic ingredient.
Making homemade vanilla extract is a simple yet incredibly satisfying project. Imagine having your own personalized bottle of vanilla extract, rich with flavor and perfect for all your culinary creations. These essential tips will ensure that you create an extract that will elevate your baking and cooking to the next level.
At Creme Filled Churros, we’re here to help you master the art of homemade ingredients. Explore these 8 essential tips for making homemade vanilla extract, and let us guide you toward creating a flavorful extract that will make all your desserts even more special!