
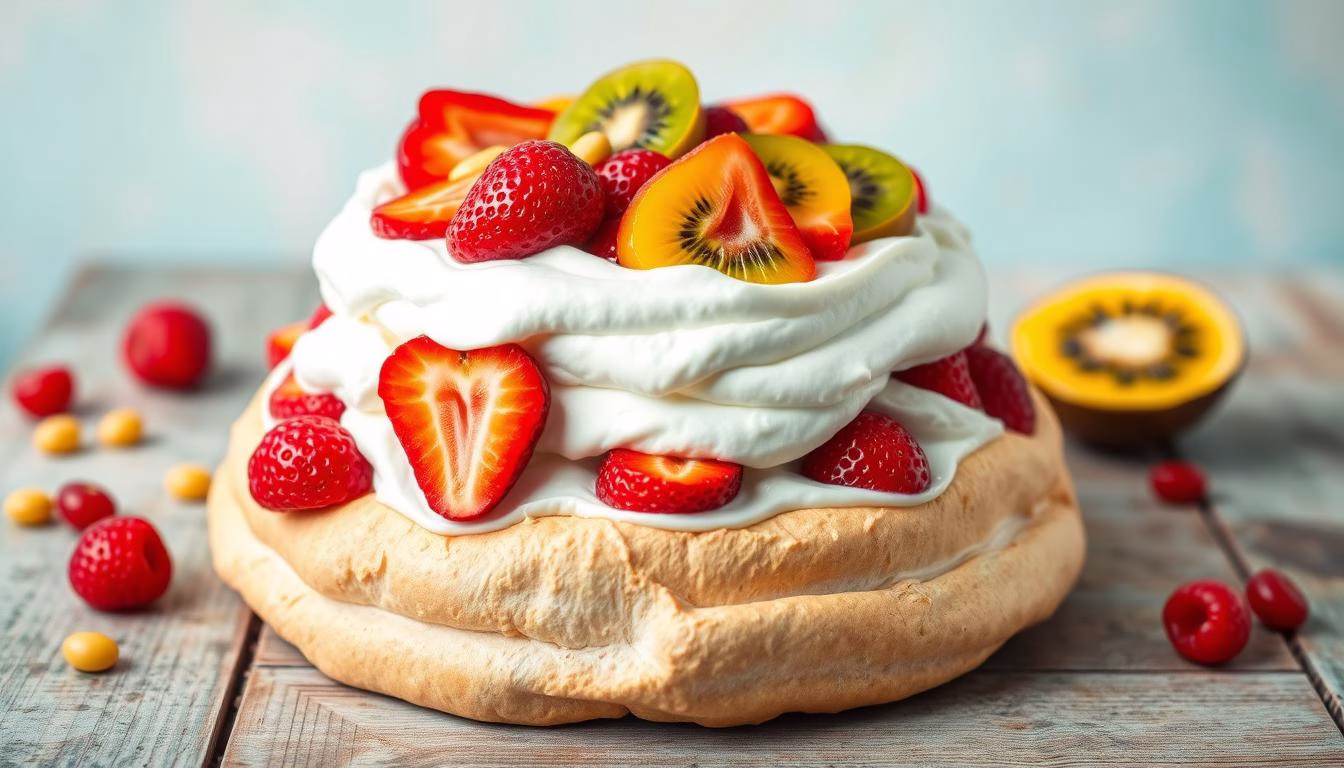
Hey there, fellow food adventurers! I’ve been on a journey to create the ultimate pavlova recipe. This isn’t just any guide; it’s a story of sugar, eggs, and passion. I’ll show you how to turn the pavlova dessert into a magical experience that will wow your guests.
My recipe is more than just steps; it’s a chance for you to show off your baking skills. Let’s start this baking journey together. Your pavlova will be the star of any meal. Remember, the magic is in the ingredients and the joy you put into making it.
Key Takeaways
- Embrace the adventure of creating a pavlova that’s as delightful to make as it is to taste.
- Discover how simple it is to craft a dazzling pavlova dessert with a few secret tips and tricks.
- Learn the essentials to ensure your pavlova base is light, crispy, and mallowy on the inside.
- Master the art of choosing and applying the perfect toppings for a personal touch.
- Gain confidence in your baking prowess with my expert guidance to pavlova perfection.
The Origin of the Classic Pavlova
The pavlova history is quite interesting. It’s more than a dessert; it’s a symbol of culture and history. Named after Anna Pavlova, a famous Russian ballerina, it was made in her honor in the 1920s. The dessert’s lightness and fluffiness remind us of the ballerina’s performances.
The pavlova original recipe is simple yet elegant. It uses egg whites and sugar to create a crispy outside and a soft inside. This dessert was loved by both the chef and the ballerina it was named after. Even though there’s a debate about where it was first made, it’s loved in Australia and New Zealand.
Here’s a quick look at how the classic pavlova has become a global favorite:
- 1920s: Creation and naming of the pavlova in honor of Anna Pavlova’s visit down under.
- 1930s-1950s: Pavilion recipe variations begin spreading across the globe, adjusting to local tastes and available ingredients.
- Modern Day: Featured in food festivals, competitions, and family celebrations worldwide, transcending its Australasian origins.
The pavlova history is more than just a dessert. It’s about shared heritage and joy for many people around the world. As we enjoy and adapt this classic pavlova, it reminds us of culinary innovation and cultural celebration.
Key Ingredients for Pavlova Base Recipe
Making the perfect pavlova base starts with top-notch ingredients. The right ingredients are key to a great pavlova. Let’s explore what makes a pavlova base stand out.
Choosing the Right Type of Eggs
Eggs are crucial in any pavlova base recipe. I choose the freshest eggs I can find. They should be organic and free-range. Fresh eggs help the whites whisk up to stiff peaks, making the pavlova light and airy.
The Importance of Sugar Quality
Sugar is more than just sweet in pavlova. It’s what holds the meringue together. Use fine, caster sugar for the best results. It dissolves smoothly, avoiding a gritty texture and giving a glossy finish.
Extracts and Flavorings: Vanilla and More
Vanilla extract is essential for a pavlova’s aroma and flavor. A high-quality vanilla can make your pavlova amazing. Sometimes, I try other extracts like almond or rose water for a special touch.
Here’s a look at how different sugars and egg types affect your pavlova base:
| Ingredient | Characteristics | Impact on Pavlova |
|---|---|---|
| Fresh Organic Eggs | Richer flavor, more robust whites | Stronger structure, fluffier texture |
| Caster Sugar | Superfine texture | Smooth, no-grit meringue |
| Pure Vanilla Extract | Deep, pure flavor | Enhanced fragrance and taste |
Every ingredient you pick affects your pavlova’s quality. Choose wisely for the best dessert experience.
Selecting the Best Pavlova Toppings
Mastering the pavlova base is just the start. The real excitement comes with choosing the toppings. The right toppings can turn your pavlova into a stunning centerpiece. Here’s how to pick the best toppings that match your pavlova perfectly.
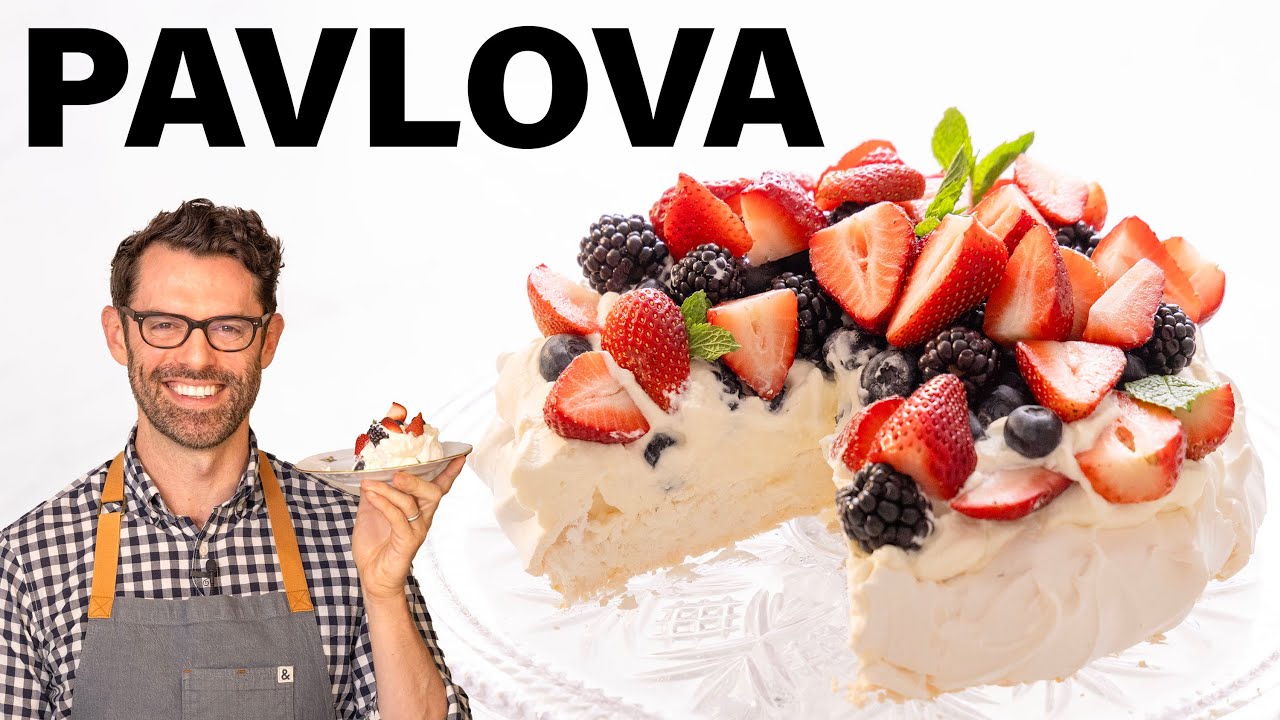
When picking toppings, think about flavor and texture balance. The meringue’s sweetness goes well with tart fruits. Berries like strawberries, raspberries, and blueberries are always a hit. But why not try something new?
- Kiwi – Slices of kiwi add a vibrant green pop of color and a tangy taste.
- Mango – For a tropical twist, top your pavlova with fresh mango slices.
- Passion Fruit – Drizzle passion fruit pulp over the top for a burst of intense flavor.
Adding layers of flavors can make your pavlova a gourmet delight. Try pairing fruit with whipped cream or lemon curd. These add depth and a creamy contrast to the meringue.
| Fruit | Flavor Profile | Texture |
|---|---|---|
| Strawberries | Sweet with a slight acidity | Juicy |
| Blueberries | Sweet and mildly tart | Firm |
| Pomegranate Seeds | Sweet-tart | Crunchy bursts |
Pavlova is all about creativity. Whether it’s for a big event or a simple dessert, the right toppings make a big difference. Let your imagination guide you and choose toppings that delight both your taste buds and your eyes.
Pavlova: Step-by-Step Instructions
Servings: 6-8 Total Time: 2 hours (includes chilling time) Estimated Calories per Serving: 300-400 (varies based on toppings)
Equipment Needed:
- Large mixing bowl
- Electric mixer or hand mixer
- Parchment paper
- Baking sheet
- Piping bag
- Large piping tip (about 1 inch in diameter)
- Offset spatula
Ingredients:
For the Meringue:
- 4 large egg whites, at room temperature
- 1/4 teaspoon cream of tartar
- 1 cup granulated sugar
- 1 teaspoon vanilla extract
For the Whipped Cream:
- 1 cup heavy cream, chilled
- 1/4 cup powdered sugar
- 1 teaspoon vanilla extract
For the Toppings:
- Fresh berries (strawberries, raspberries, blueberries)
- Passion fruit
- Kiwi
- Chocolate shavings
- Any other desired toppings
Instructions:
Preparing the Meringue:
- Preheat Oven: Set your oven to 250°F (120°C).
- Line Baking Sheet: Line a baking sheet with parchment paper.
- Whip Egg Whites: In a large, clean, dry bowl, whip the egg whites with an electric mixer or hand mixer on high speed until soft peaks form.
- Add Cream of Tartar: Gradually add the cream of tartar and continue whipping until stiff peaks form.
- Gradually Add Sugar: Gradually add the granulated sugar, one tablespoon at a time, while continuing to whip. Whip until the meringue is glossy and stiff.
- Add Vanilla: Stir in the vanilla extract.
- Pipe Meringue: Transfer the meringue to a piping bag fitted with a large, round piping tip. Pipe the meringue onto the prepared baking sheet, forming a large circle or smaller individual pavlovas.
- Bake Meringue: Bake in the preheated oven for 1-1.5 hours, or until the meringue is dry and crisp on the outside but still slightly soft on the inside.
- Cool Meringue: Turn off the oven and let the meringue cool completely in the oven.
Preparing the Whipped Cream:
- Chill Bowl and Beaters: Chill a large bowl and beaters in the refrigerator.
- Whip Cream: In the chilled bowl, whip the heavy cream with an electric mixer or hand mixer on high speed until soft peaks form.
- Add Sweeteners and Flavoring: Gradually add the powdered sugar and vanilla extract. Whip until stiff peaks form.
Assembling the Pavlova:
- Place Meringue on Plate: Place the cooled meringue on a serving plate.
- Top with Whipped Cream: Top the meringue with a generous amount of whipped cream.
- Add Toppings: Decorate with fresh berries, passion fruit, kiwi, chocolate shavings, or any other desired toppings.
Serve Immediately: Enjoy the Pavlova immediately.
Note: Store any leftover Pavlova in an airtight container at room temperature. The meringue can become slightly soft if stored in the refrigerator.
This guide is your roadmap to making a pavlova that looks and tastes great. Each step, from whipping to cooling, is based on expert techniques. Follow these steps to create a stunning pavlova.
Styling Your Pavlova with Fruit
Styling your pavlova dessert is where you can really show off your creativity. Think of it as a blank canvas, waiting for your touch. With different pavlova topping ideas, you can turn this simple dessert into a stunning masterpiece. The right fruits add color and flavor, making the sweet base even better.
The secret to a beautiful pavlova design is in choosing and arranging the fruit toppings. Here’s a quick guide on how to make fruits into beautiful toppings:
- Strawberries: Slice them thin and fan out around the edge or create a heart-shaped centerpiece for a love-themed dessert.
- Kiwis: Their bright green adds a pop of color. Slice thinly and arrange in a spiral pattern from the center outwards.
- Blueberries: Perfect for scattering across the top, they add a hint of dark mystery to the overall design.
- Mango: Slice into thin ribbons and twirl into rose shapes for a tropical, elegant finish.
- Passion Fruit: Drizzle the pulp over the top for a zesty, tantalizing garnish that cuts through the sweetness.
These fruits not only make your pavlova look great but also taste amazing. The mix of flavors is what makes a pavlova dessert a treat for all senses!
The beauty of a pavlova is in its flexibility. It’s perfect for any event, from summer parties to family desserts. These pavlova topping ideas will impress your guests and make your dessert stand out.
Expert Tips for Easy Pavlova Recipe Success
I’ve gathered lots of pavlova tips from my own experiences. I’m excited to share them with you! Whether you want to make the best pavlova or find an easy recipe, I’ve got the advice you need.
Common Pitfalls and How to Avoid Them
Making a perfect pavlova can be tricky. The main problems are humidity and not whipping egg whites right. But, a cool, dry workspace can help a lot. Use a metal bowl for whipping egg whites to keep them cool and stiff.
Following these tips will help your pavlova turn out great, not soggy!
Make-Ahead Strategies for Pavlova
If you like planning ahead, pavlova is perfect. You can make the base a day or two before. Just store it in an airtight container in a cool, dry place.
Then, add cream and fruit a few hours before serving. This way, you’ll have a stunning dessert ready without stress.
- Prep your base up to two days in advance
- Store in a cool, dry place, away from moisture
- Add toppings a few hours before serving to maintain freshness
Remember these tips, and making the best pavlova will be easy and fun!

| Component | Preparation | Tips |
|---|---|---|
| Egg Whites | Whip to stiff peaks | Use a cool metal bowl and avoid any yolk traces |
| Sugar | Gradually add while whipping | Ensure it’s completely dissolved to avoid grittiness |
| Storage | Store base in airtight container | Keep at room temperature, avoid humid places |
How to Make Pavlova for Special Occasions
Creating a special pavlova for a birthday, holiday, or any festive event is all about the details. A pavlova for celebrations should have that extra touch to make it unforgettable. It’s not just about how it tastes—it’s also about how it looks!
Picture a festive pavlova with edible gold leaf or a mirror glaze. These desserts are more than just treats; they’re stunning displays that highlight the occasion. Here’s how to make your pavlova a standout at any celebration.
- Add luxury with gold: Edible gold leaf is easy to use and makes your pavlova look fancy. Just a little on the meringue’s peaks can dazzle your guests.
- Incorporate themed colors: Choose toppings that match the event. Go for red and green for Christmas, pastels for Easter, or bright colors for birthdays.
- Experiment with shapes: A pavlova doesn’t have to be round. Try heart shapes for anniversaries or tiered designs for big events.
| Occasion | Decoration Idea | Toppings Suggestion |
|---|---|---|
| New Year’s Eve | Mirror glaze with silver dust | Fresh berries and mint |
| Valentine’s Day | Heart-shaped with rose petals | Raspberry and chocolate shavings |
| Fourth of July | Star shapes around the edges | Blueberries, strawberries, and whipped cream |
So, making a special pavlova is more than baking. It’s about creating a memorable experience. Whether you add gold leaf for luxury or design it to match the event, your hard work will be appreciated. Remember, the best pavlova for celebrations come from love and creativity. Happy baking and decorating!
Pairing Pavlova with Wine & Beverages
Welcome to the art of pairing! Finding the right drinks with pavlova can make a simple dessert shine. Here’s how to make your next pavlova special, whether it’s for a casual get-together or a fancy dinner.

Wine lovers will love knowing the right bottle can bring out pavlova’s flavors. For a sweet match, try a Moscato d’Asti. Its light bubbles and peach and apricot notes pair well with pavlova’s vanilla and fruit.
Want something to balance the sweetness? A dry Prosecco is perfect. Its crisp acidity and lively bubbles refresh your palate, making pavlova even more delightful.
- Pavlova wine pairing tip: Choose sparkling wines. Their bubbles and sweetness levels highlight pavlova’s soft sweetness.
Not into wine? No problem! I’ve got some great drinks with pavlova for you. A minty lemonade adds a fresh touch, while a berry mocktail balances tartness with sweetness.
Pairing is all about enhancing your meal without overpowering the pavlova. Try these ideas and find your favorite match. Cheers to making your pavlova unforgettable!
Conclusion
Starting your pavlova journey is more than just mixing ingredients. It’s about adding passion and personality to every layer and topping. We’ve explored from its origins to making your own pavlova masterpiece. Each step is a chance to show your creativity and turn a simple mix into a stunning dessert.
Finding the perfect pavlova might take some tries, but don’t worry, you’re not alone! Every attempt is a step forward in your cooking journey. Making pavlova fills your home with sweet smells and creates memories and joy.
So, what makes a pavlova perfect? It’s not just about following a recipe. It’s the joy of making a light base and topping it with colorful fruits. It’s about sharing your pavlova with loved ones and seeing their happiness. So, let’s get started—your perfect pavlova is waiting!