
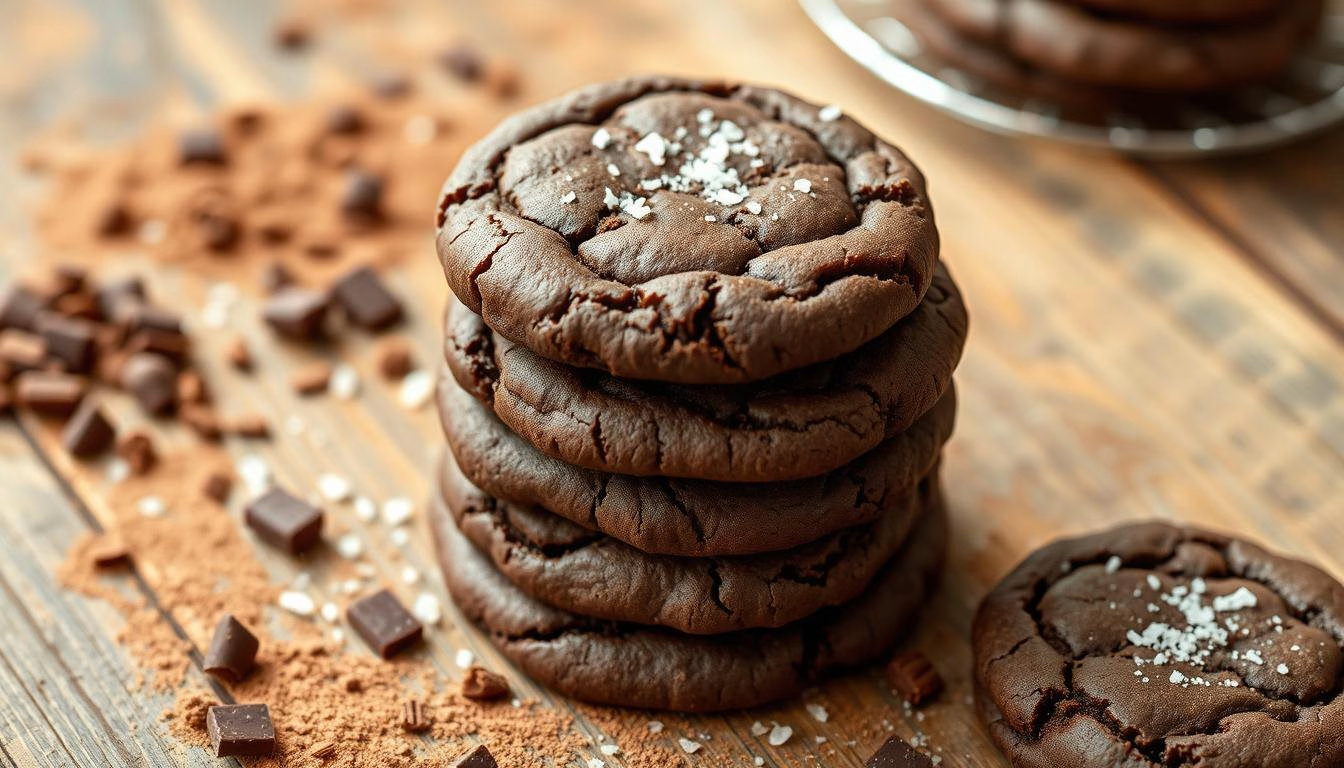
Using just a handful of high-quality ingredients—premium cocoa powder, velvety bittersweet chocolate, and a sprinkle of flaky sea salt—these cookies strike the perfect balance between buttery softness and a satisfyingly chewy texture. The process is simple: mix, scoop, and bake. In just over an hour, you’ll have 40 freshly made cookies, ready to be shared and savored.
Salted Double Dark Chocolate Cookies
Equipment
- Electric mixer for creaming the butter and sugar
- Baking sheet lined with parchment paper
- Oven
- Wire rack for cooling
Ingredients
- 1 cup unsalted butter softened
- 1 cup granulated sugar
- 0.5 cup brown sugar packed
- 2 large eggs room temperature
- 2 tsp vanilla extract
- 2 cups all-purpose flour sifted
- 0.5 cup dark cocoa powder unsweetened
- 1 tsp baking soda
- 0.5 tsp salt
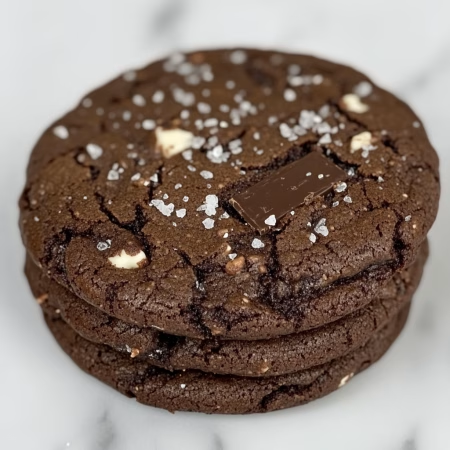
- 1.5 cups dark chocolate chunks
- 1 tsp flaky sea salt for topping
Instructions
- In a mixing bowl, beat softened butter, granulated sugar, and brown sugar with an electric mixer until light and fluffy.
- Mix in eggs one at a time, then stir in vanilla extract until well combined.
- In a separate bowl, whisk together flour, cocoa powder, baking soda, and salt.
- Gradually add the dry ingredients to the wet ingredients, mixing until just combined. Fold in dark chocolate chunks.
- Cover the dough and refrigerate for at least 40 minutes to allow the flavors to develop.
- Preheat oven to 350°F (175°C) and line a baking sheet with parchment paper.
- Scoop tablespoon-sized portions of dough onto the baking sheet, spacing them 2 inches apart. Sprinkle each cookie with flaky sea salt. Bake for 9-10 minutes or until edges are set.
- Let cookies cool on the baking sheet for 5 minutes before transferring to a wire rack to cool completely.
Notes
- Optional Equipment: A cookie scoop helps ensure even-sized cookies.
- Customization: Use white chocolate chips for a contrast in flavors.
- Storage: Store in an airtight container at room temperature for up to 5 days.
- Serving Tip: Warm slightly before serving for an even gooier texture.
Nutrition
Delicious Background and Inspiration
Baking has always been a way to connect with loved ones and create lasting memories. Growing up, I spent countless hours in the kitchen with my aunts, learning the art of making traditional treats. Those moments shaped my love for baking and inspired me to create something uniquely my own.
Traditional Cookie Memories and Holiday Vibes
I remember the excitement of holiday baking—the scent of cocoa powder and chocolate chips filling the air. Our family cookie tin was always a mix of classics, from Toll House to Forgotten Cookies. Each bite carried a story, a tradition passed down through generations.
Those recipes weren’t just about the ingredients; they were about the joy of sharing. Whether it was a snowy December evening or a sunny summer afternoon, baking brought us together. It’s those memories that fueled my passion for creating a modern twist on a timeless favorite.
Modern Twists and Family Favorites
While I cherish the classics, I wanted to add my own flair. My version combines the rich, deep flavor of cocoa with the perfect balance of sweetness and a hint of salt. Using high-quality chocolate chips and precise measurements ensures every batch turns out just right.
This recipe takes only minutes to mix, yet it delivers a tender, chewy treat that feels like a holiday indulgence any time of year. It’s a nod to tradition with a modern twist—something my family and I now treasure as our own. If you’re curious about the ingredients, check out this guide on Is Cocoa Powder Dairy-Free? for more insights.
Essential Ingredients & Baking Techniques
Every baker knows that the secret to perfect treats lies in the ingredients and techniques. From the type of sugar to the temperature of your butter, every detail matters. Let’s explore the key components and methods that make these treats unforgettable.
Key Ingredients and Their Roles
The foundation of this recipe is its carefully chosen ingredients. Unsalted butter allows you to control the saltiness, while dark brown sugar adds a rich, molasses-like depth. Combined with brown sugar, it creates a perfect balance of sweetness and moisture.
Using room temperature ingredients ensures even mixing. The egg binds everything together, while vanilla enhances the flavor profile. Don’t forget the soda, which helps the dough rise and achieve that ideal texture.

Mixing, Chilling, and Texture Tips
Mixing the dry ingredients separately before adding the wet ones prevents overmixing. This step is crucial for achieving a tender, chewy texture. Once combined, chilling the dough is essential. It helps the flavors meld and prevents the treats from spreading too much during baking.
Here’s a quick guide to the essential ingredients and their roles:
| Ingredient | Role |
|---|---|
| Unsalted Butter | Adds richness and controls saltiness |
| Dark Brown Sugar | Provides depth and moisture |
| Egg | Binds ingredients together |
| Vanilla | Enhances flavor |
| Baking Soda | Helps dough rise |
By paying attention to these details, you’ll create treats with a perfect balance of flavors and textures. Happy baking!
Step-by-Step Instructions: salted double dark chocolate cookies Recipe
Creating something delicious from scratch is always rewarding, especially when it’s this simple. Follow these steps to bring this treat to life with ease.
Combining Dry and Wet Ingredients
Start by whisking the dry ingredients in a bowl. This ensures even distribution and prevents lumps. In another bowl, cream the butter and sugars until light and fluffy. This step is crucial for achieving the perfect texture.
Add the eggs one at a time, mixing well after each. Then, incorporate the vanilla for a rich flavor. Gradually blend the dry ingredients into the wet mixture. Use a stand mixer fitted with a paddle attachment for smooth, consistent results.

Baking Process and Final Touches
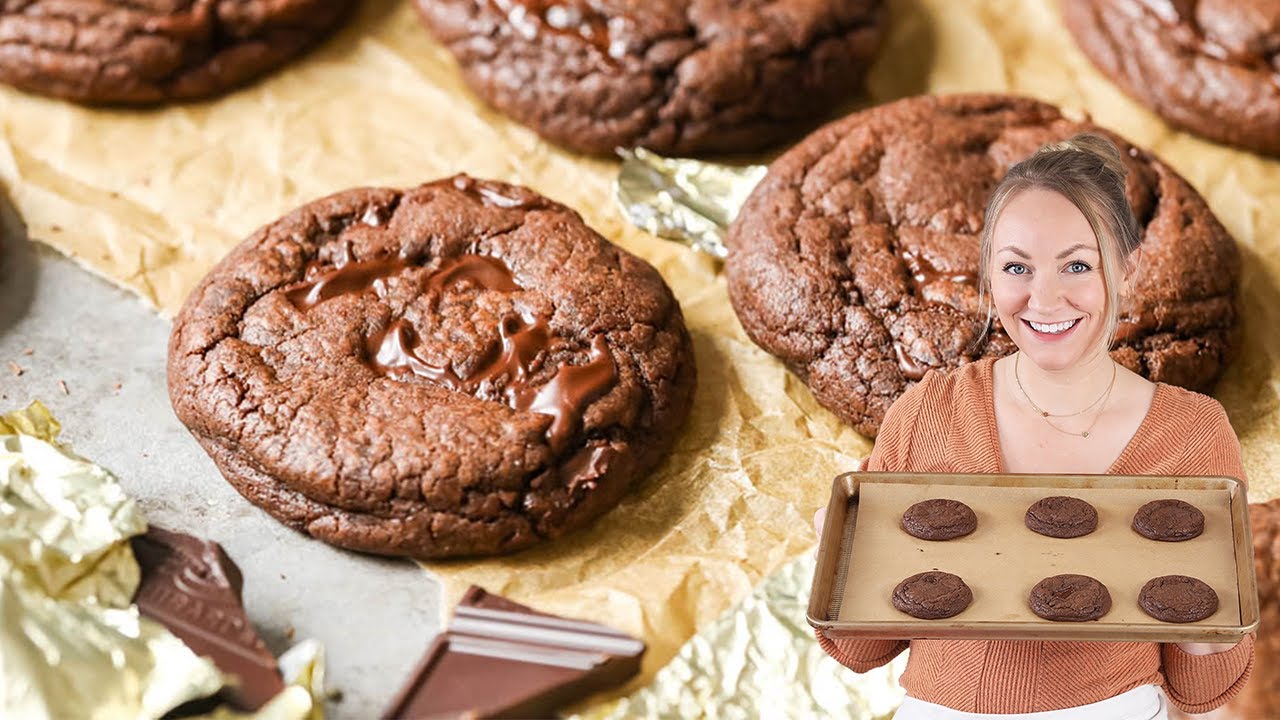
Preheat your oven to 350°F. Line your baking sheet with parchment paper for easy removal. Scoop the dough into balls using a cookie scoop, spacing them about 2 inches apart.
Sprinkle a pinch of sea salt on top of each ball for a balanced flavor. Bake for 7 minutes, rotating the baking sheet halfway through. This ensures even baking and a perfect golden edge.
Let the treats cool on the sheet for 5 minutes before transferring them to a wire rack. This step is essential for achieving the ideal texture—crisp edges with a soft, chewy center.
For more inspiration, check out these classic Mexican sweets to add variety to your baking repertoire.
Enjoy Every Bite of These Homemade Chocolate Sea Salt Cookies
Baking these treats is more than just a recipe—it’s a celebration of flavor and tradition. Whether it’s for a holiday gathering or a casual snack, this recipe brings joy to every bite. The simplicity of the process, from using a cookie scoop to preheating your oven to the right temperature, makes it accessible for bakers of all levels.
With the right tools, like a stand mixer fitted with a paddle, and attention to detail, you’ll achieve that perfect chewy texture every time. Don’t forget to let them cool on a rack for the best results. This recipe is versatile, allowing you to store or freeze them for later enjoyment.
I encourage you to try this recipe and share the experience with loved ones. Each step, from add egg vanilla to the final touch, contributes to a treat that’s both delicious and memorable. Happy baking!
FAQ
Can I use milk chocolate instead of dark chocolate in this recipe?
Absolutely! While dark chocolate adds a rich depth of flavor, milk chocolate will give a sweeter, creamier taste. Feel free to swap based on your preference.
How do I ensure my cookies stay chewy and not dry?
The key is not to overbake them. Pull them out of the oven when the edges are set but the center is still slightly soft. They’ll firm up as they cool on the baking sheet.
Can I make the dough ahead of time?
Yes! The dough can be refrigerated for up to 48 hours before baking. This actually enhances the flavor and texture. Just let it sit at room temperature for 10-15 minutes before scooping.
What’s the best way to store these cookies?
Keep them in an airtight container at room temperature for up to 5 days. For longer storage, freeze the baked cookies or the dough for up to 3 months.
Can I substitute sea salt with regular table salt?
You can, but sea salt adds a unique, slightly coarse texture and enhances the flavor. If using table salt, reduce the amount by half to avoid over-salting.
Do I need a stand mixer to make this recipe?
Not at all! A hand mixer or even a sturdy wooden spoon will work just fine. The goal is to cream the butter and sugar until light and fluffy.
Why is chilling the dough important?
Chilling prevents the cookies from spreading too much during baking, giving them a thicker, chewier texture. It also allows the flavors to meld together beautifully.
One of my favorite cookie recipes