
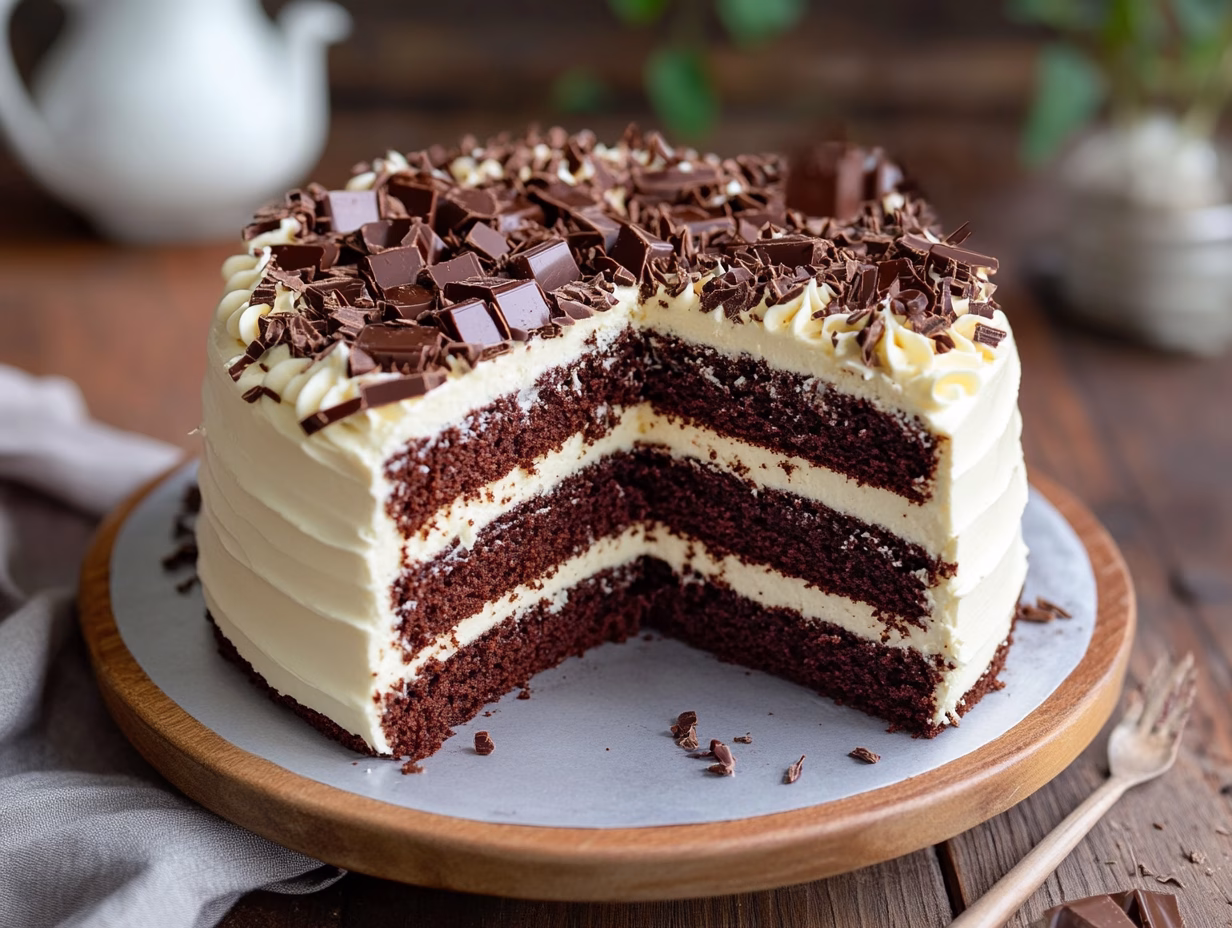
Ever faced the classic debate between chocolate and vanilla lovers? I certainly have, especially during a family birthday celebration. That’s why I’m thrilled to share my ultimate guide to creating a dual-flavored masterpiece that pleases everyone. This recipe combines the best of both worlds, offering a moist, fluffy texture that’s simply irresistible.
Inspired by experts like Tieghan Gerard and PJ Hamel, this guide simplifies the process. You’ll learn how to make one unified batter that splits into two delightful flavors. Whether you’re a beginner or a seasoned baker, this method ensures success every time.
Stay tuned as we dive into the ingredients, step-by-step techniques, and expert tips. Plus, I’ll share secrets for achieving perfectly moist layers and creative frosting designs. Let’s make baking fun and rewarding!
For more inspiration, check out these chocolate and vanilla desserts that prove opposites attract. Ready to get started? Let’s bake!
Easy Vanilla and Chocolate Cake
Equipment
- Electric mixer for cake batter and frosting
- Two 9-inch round cake pans greased and lined with parchment paper
- Oven preheated to 350°F
- Spatula for spreading frosting
- Cooling rack for cooling the cakes
Ingredients
- 2.5 cups all-purpose flour
- 2 tsp baking powder
- 1/2 tsp salt
- 1 cup unsalted butter softened
- 1.5 cups granulated sugar
- 4 large eggs room temperature
- 1 tbsp vanilla extract
- 1 cup milk
- 1/2 cup cocoa powder for chocolate layer
- 2 cups buttercream frosting for assembling and decorating the cake
Instructions
- Preheat the oven to 350°F (175°C). Grease and line two 9-inch round cake pans with parchment paper.
- In a mixing bowl, whisk together flour, baking powder, and salt. Set aside.
- In another bowl, beat softened butter and sugar until light and fluffy. Add eggs one at a time, mixing well after each addition. Stir in vanilla extract.
- Gradually add the dry ingredients to the wet ingredients, alternating with milk, beginning and ending with the dry ingredients. Mix until smooth.
- Divide the batter evenly into two bowls. Stir cocoa powder into one bowl to create the chocolate layer, leaving the other as vanilla.
- Pour each batter into prepared cake pans. Bake for 25-30 minutes or until a toothpick inserted into the center comes out clean. Let cakes cool in the pans for 10 minutes before transferring to a cooling rack.
- Once the cakes are completely cool, layer them with buttercream frosting in between. Frost the top and sides of the cake as desired.
- Slice and serve this delicious vanilla and chocolate layered cake. Enjoy!
Notes
- Optional Equipment: An offset spatula can help spread frosting smoothly.
- Customization: Add chocolate chips to the batter for extra texture.
- Storage: Store in an airtight container at room temperature for up to 2 days or in the refrigerator for up to 5 days.
- Serving Tip: Pair with a scoop of vanilla ice cream for extra indulgence.
Nutrition
Introduction: The Best of Both Worlds in Cake
Combining two iconic flavors into one dessert is a game-changer for any gathering. Whether it’s a birthday, holiday, or just a weekend treat, this approach ensures everyone’s taste buds are satisfied. I’ve always loved the idea of merging classics to create something uniquely delicious.
I remember a family birthday where the debate over flavors was intense. Some wanted rich, indulgent chocolate, while others preferred the subtle sweetness of vanilla. That’s when I realized a dual-flavored recipe could be the perfect solution. It’s not just about compromise—it’s about celebrating diversity in taste.
This recipe eliminates the need to choose. By splitting one batter into two flavors, you get the best of both worlds. The process is straightforward, and the results are impressive. Moist layers, balanced flavors, and a stunning presentation make this dessert a showstopper.
In the next sections, we’ll dive into the essential ingredients, step-by-step techniques, and creative decoration tips. You’ll also learn how mastering baking temperatures can elevate your results. Let’s get started on this flavorful journey!
Welcome and Cake Background
Baking has always been a way to bring people together. Combining flavors like chocolate and vanilla is more than just a recipe—it’s a celebration of variety. This approach ensures no one feels left out, and everyone gets their favorite taste.
Why Choose a Dual-Flavored Recipe?
A dual-flavored dessert is perfect for families with diverse preferences. It’s also a great way to showcase your baking skills. With one batter, you can create two distinct layers that complement each other beautifully.
| Benefit | Description |
|---|---|
| Satisfies Everyone | Combines two popular flavors in one dessert. |
| Ease of Preparation | One batter splits into two flavors, saving time. |
| Impressive Presentation | Layered design makes it visually stunning. |
Essential Ingredients and Kitchen Tools
The secret to a perfect dessert lies in the ingredients and tools you use. Whether you’re a beginner or a seasoned baker, having the right supplies ensures your creation turns out just as you imagined. Let’s break down what you’ll need to make this dual-flavored masterpiece.
Key Dry and Wet Ingredients
Start with the basics: flour, sugar, and baking powder form the foundation of your batter. For the chocolate side, cocoa powder adds that rich, indulgent flavor. On the other hand, a splash of vanilla extract brings a subtle sweetness to the mix.
Wet ingredients like eggs, butter, and milk are equally important. They help bind everything together and create a moist, fluffy texture. For best results, ensure your butter and eggs are at room temperature before mixing.

Necessary Baking Tools and Equipment
Having the right tools makes the process seamless. A sturdy mixer ensures your batter is smooth and well-combined. You’ll also need cake pans to bake your layers evenly. For precise measurements, keep cups and tablespoons handy.
Don’t forget a cooling rack to let your layers set properly. Parchment paper and a spatula are also helpful for easy removal and clean presentation. With these tools, you’re ready to create a dessert that’s as beautiful as it is delicious.
For more tips on achieving the perfect texture, check out this guide on baking fluffy cakes. Now that you’re equipped with the essentials, let’s move on to the next step!
Step-by-Step Recipe Walkthrough
Let’s dive into the step-by-step process of creating a dual-flavored delight that’s sure to impress. This method is simple, efficient, and guarantees a stunning result every time. Follow along as we break it down into easy-to-follow stages.
Preparing the Batter and Dividing Flavors
Start by creaming the butter and sugar in a large bowl until light and fluffy. Add the eggs one at a time, mixing well after each addition. Gradually incorporate the dry ingredients, folding gently to avoid overmixing. This ensures a light, fluffy texture.
Next, divide the batter into two equal portions. Leave one portion as is for the pure flavor. To the other, add cocoa powder and a splash of coffee. This enhances the richness of the chocolate side, creating a perfect balance.

Baking and Cooling Techniques
Preheat your oven to 350°F and prepare your pans with parchment paper. Evenly distribute the batter between the pans, ensuring each layer is uniform. Bake for 30-35 minutes, or until a tester comes out with moist crumbs.
Once baked, let the layers cool in the pans for 10 minutes. Then, run a knife along the edges and turn them out onto a cooling rack. Allow them to cool completely before assembling. This prevents the frosting from melting and ensures a clean presentation.
For more inspiration on perfecting your dessert, check out these 25 delicious frosting recipes. They’ll take your creation to the next level!
Mastering the vanilla and chocolate cake
Achieving the perfect balance of flavors and textures in a dessert is an art. Whether you’re a beginner or a seasoned baker, these tips will help you create moist, fluffy layers that everyone will love. Let’s dive into the secrets of mastering this dual-flavored delight.
Tips and Tricks for Moist, Fluffy Layers
To ensure your layers stay moist, avoid overmixing the batter. Overmixing can lead to a dense texture. Instead, fold the ingredients gently until just combined. Another key tip is to not overbake. Use a tester to check for moist crumbs rather than a completely clean result.
Proper storage is also crucial. Keep your layers at room temperature for up to three days. For longer storage, wrap them tightly and refrigerate. This helps retain moisture and freshness.
Balancing Flavor: Adding Coffee and Cocoa
Enhancing the chocolate flavor is easy with a touch of coffee. Coffee deepens the richness of cocoa powder, creating a more intense taste. Simply add a tablespoon of brewed coffee to the chocolate batter. This small addition makes a big difference.
For the vanilla side, use high-quality extract. This ensures a pure, sweet flavor that complements the chocolate. If you prefer two vanilla layers and one chocolate, adjust the ingredient measurements slightly. Add an extra tablespoon of sugar to the vanilla batter for balance.
| Ingredient | Purpose |
|---|---|
| Cocoa Powder | Adds rich chocolate flavor |
| Coffee | Enhances cocoa’s richness |
| Vanilla Extract | Provides subtle sweetness |
When layering, start with a vanilla base, followed by chocolate, and finish with vanilla. This creates a harmonious blend of flavors. For a professional touch, try a vanilla bean ganache between layers. It’s creamy, rich, and perfect for this dessert.
Remember, baking is both science and creativity. Trust your instincts and don’t be afraid to experiment. Happy baking!
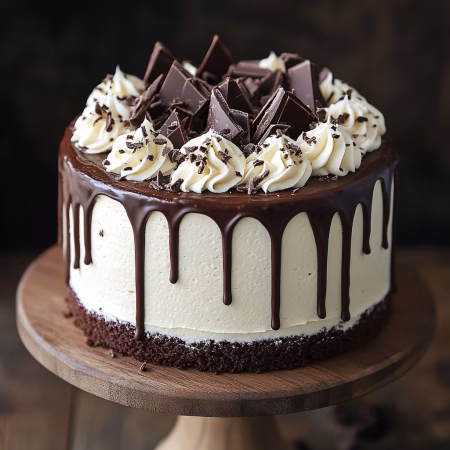
Creative Frosting and Presentation Ideas
Transforming a simple dessert into a showstopper is all about the finishing touches. The right frosting and presentation can elevate your creation from ordinary to extraordinary. Let’s explore some creative ideas to make your dessert truly unforgettable.
Designing Marbled and Swirled Frostings
One of my favorite techniques is creating a marbled or swirled effect. Start by preparing two separate frostings—one classic and one with cocoa powder for a rich twist. Using a spatula, gently swirl them together on the top of your dessert. The result is a stunning, artistic finish that’s sure to impress.
For a more intricate design, try piping alternating dollops of each frosting onto the layer. Then, use a knife or skewer to gently blend the colors. This method works beautifully for both round and square desserts, adding a touch of elegance.
Layering Variations and Decoration Inspiration
Layering isn’t just about taste—it’s also about visual appeal. Alternate your frosting flavors between each layer to create a striking contrast. For example, place a creamy vanilla frosting between chocolate layers for a balanced look. This technique not only enhances the flavor but also makes the dessert visually captivating.
When it comes to decoration, simplicity can be just as impactful. A smooth, even coat of frosting with a few sugar accents or edible flowers can make a big statement. If you’re feeling adventurous, try piping rosettes or using a bench scraper for a polished finish.
Remember, even if your design doesn’t turn out perfectly, improvisation often leads to charming results. As one baker wisely said,
“Mistakes are just opportunities for creativity.”
So, don’t be afraid to experiment and let your personality shine through your creations.
For more inspiration, check out these decadent chocolate pie recipes. They’re perfect for anyone looking to explore new flavors and techniques. Happy decorating!
Your Dream Vanilla and Chocolate Cake Awaits: Happy Baking!
Baking a dessert that combines two beloved flavors is a rewarding experience. This recipe brings together the best of both worlds, offering a treat that’s perfect for any occasion. Whether it’s a birthday or a casual weekend, this creation is sure to impress.
With simple steps and detailed planning, you can achieve moist, fluffy layers every time. Remember to avoid overmixing and use quality ingredients for the best results. A touch of coffee enhances the richness, while high-quality extract ensures a pure taste.
Don’t be afraid to experiment with frosting designs or layering variations. Personalize your creation and share it with loved ones. I’d love to see your results—tag me on social media or leave a comment!
Thank you for joining me on this flavorful journey. Happy baking, and may your cake always bring joy to the table!
FAQ
Can I use a different type of flour for this recipe?
Yes, you can substitute all-purpose flour with cake flour for a lighter texture. Just make sure to measure it correctly for the best results.
How do I prevent the layers from sticking to the pan?
Grease your pans thoroughly with butter or oil, then dust them with a light coating of flour. This ensures easy removal after baking.
Can I make this recipe without eggs?
Absolutely! You can use alternatives like applesauce, mashed bananas, or a commercial egg replacer. Adjustments may be needed for texture.
What’s the best way to store the finished dessert?
Keep it in an airtight container at room temperature for up to 2 days. For longer storage, refrigerate it for up to a week.
Can I freeze the layers for later use?
Yes, wrap the cooled layers tightly in plastic wrap and aluminum foil. They can be frozen for up to 3 months. Thaw before frosting.
How do I achieve a marbled effect in the frosting?
Swirl the two flavors together gently with a spatula or knife. Avoid overmixing to maintain distinct patterns.
Can I use dark cocoa powder for a richer flavor?
Definitely! Dark cocoa powder adds depth and intensity. Just ensure it’s unsweetened to balance the recipe.
What’s the ideal baking time for a 9-inch round pan?
Bake for 25-30 minutes at 350°F. Check for doneness by inserting a toothpick—it should come out clean.
Can I add coffee to enhance the chocolate flavor?
Yes, a tablespoon of brewed coffee or espresso powder intensifies the chocolate taste without overpowering it.
How do I ensure even layers when stacking?
Level each layer with a serrated knife before assembling. This creates a stable and professional-looking finish.