
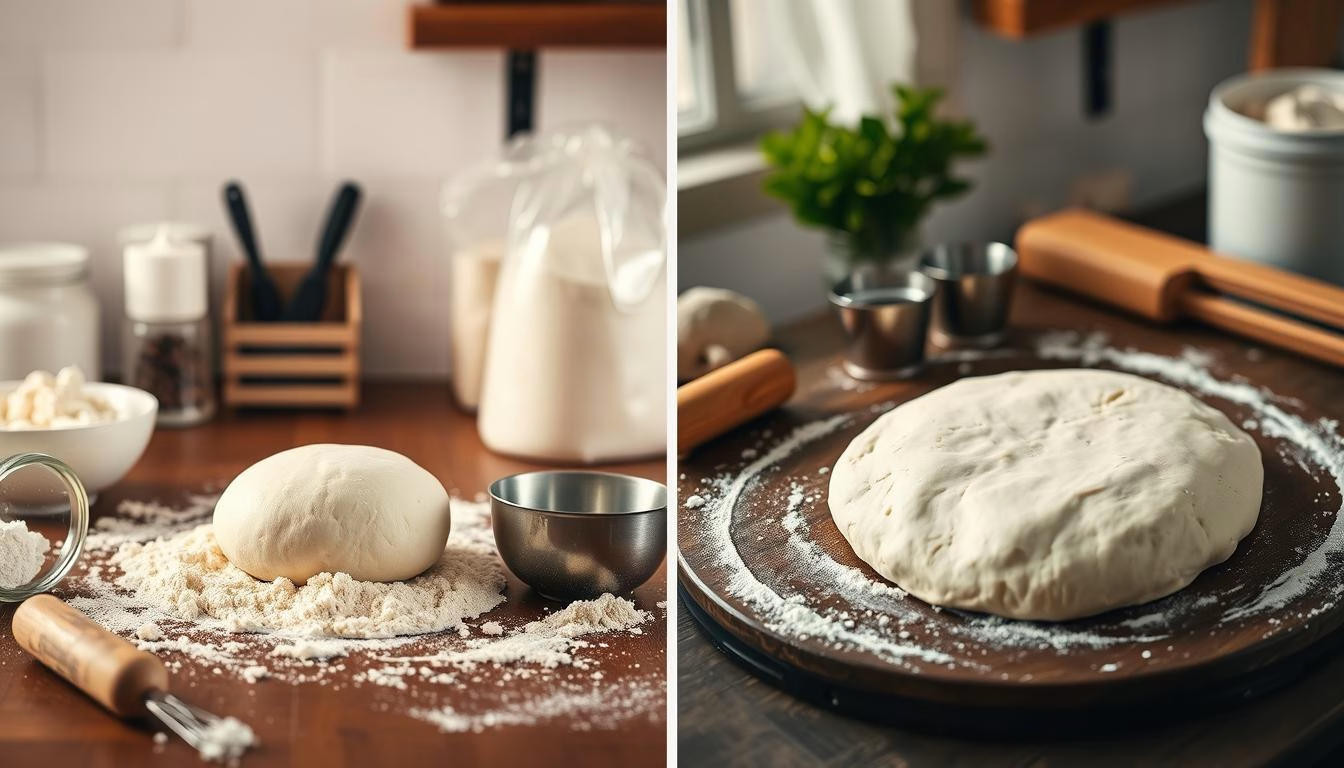
Baking enthusiasts, we’ve all faced that sinking feeling when our dough doesn’t rise as expected. But don’t worry, this guide is here to help. It will teach you how to make your dough rise perfectly. Whether you’re new to baking or experienced, this article will help you fix common dough rising problems.
We’ll cover the science of fermentation and how temperature, hydration, and kneading affect dough. By the end, you’ll know how to solve dough rising issues. Your future bakes will be light, airy, and delicious, impressing everyone.
Key Takeaways
- Explore the science behind dough rising and the crucial role of yeast
- Identify common reasons why dough may fail to rise, from yeast issues to temperature concerns
- Discover the importance of proper kneading techniques and the impact of flour quality
- Understand how environmental factors, such as humidity and altitude, can influence dough rising
- Learn to avoid common recipe mistakes that can hinder dough development
By exploring bread baking troubleshooting and , you’ll master dough rising. Let’s start this journey together and achieve dough-rising success!
Understanding the Basic Science of Dough Rising
Dough rising is a fascinating process. It turns a mix of flour, yeast, and water into a light, airy, and tasty baked good. To master dough rising, knowing the basic science is key.
The Role of Yeast in Fermentation
Yeast is the hero of dough rising. These tiny fungi cause the dough to expand and rise. They eat the dough’s sugars, making carbon dioxide and alcohol. This makes bread light and fluffy.
Chemical Reactions During Rising
The rising process involves complex chemical reactions. Yeast breaks down flour’s starch into simpler sugars. This not only helps the dough rise but also improves its flavor.
Impact of Gluten Development
Gluten, a protein in wheat flour, is vital for rising. Kneading strengthens gluten, trapping carbon dioxide bubbles. This is crucial for a light, airy texture in the baked bread.
Knowing about yeast, chemical reactions, and gluten will help you fix yeast issues or proofing problems in bread baking.
“The science behind dough rising is a captivating dance of microorganisms, chemical reactions, and protein networks, all coming together to create the perfect loaf of bread.”
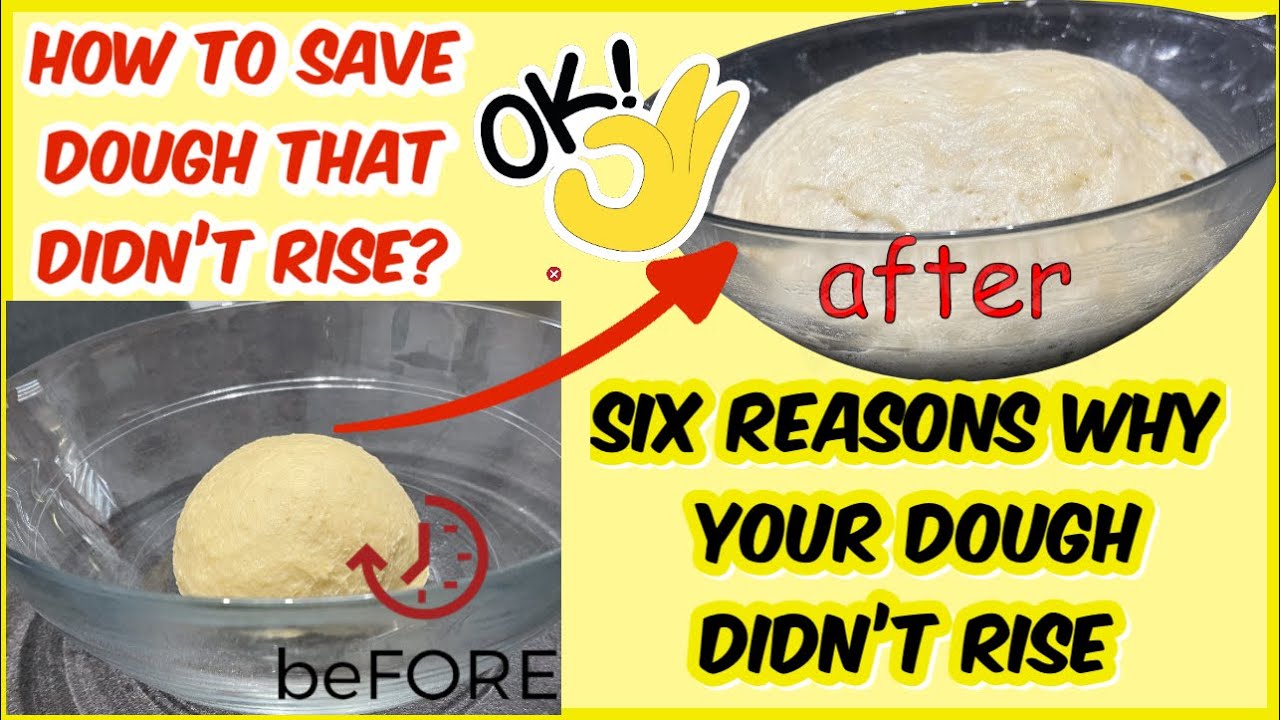
Common Reasons Why Did My Dough Not Rise
If your bread dough isn’t rising as expected, there could be a few common culprits at play. Understanding the underlying reasons behind dough rising issues is crucial for troubleshooting and perfecting your bread baking skills. Let’s explore some of the most frequent causes of dough that refuses to rise:
- Inactive or Expired Yeast: Yeast is the essential leavening agent that powers dough expansion. If your yeast is old, improperly stored, or no longer active, it won’t be able to produce the carbon dioxide needed for a successful rise.
- Incorrect Temperature: Dough requires a specific temperature range to activate the yeast and promote fermentation. If the dough is too cold, the yeast will remain dormant; if it’s too hot, the yeast may die, leading to a flat, dense loaf.
- Insufficient Kneading: Adequate gluten development through proper kneading is crucial for trapping the gas bubbles that cause dough to rise. Skimping on kneading time can result in a dense, heavy bread texture.
Other factors, such as improper flour selection, incorrect liquid ratios, or environmental conditions, can also hinder dough from rising as expected. Paying attention to these common bread baking troubleshooting issues can help you identify the root cause and enjoy fluffy, well-risen loaves every time.
| Potential Issue | Explanation | Solution |
|---|---|---|
| Inactive Yeast | Yeast may be too old or improperly stored, leading to a lack of activity and gas production. | Use fresh, high-quality yeast and ensure proper storage conditions. |
| Incorrect Temperature | Dough requires a specific temperature range for optimal yeast activity and fermentation. | Maintain the recommended temperature for proofing and rising. |
| Insufficient Kneading | Inadequate gluten development can prevent the dough from trapping gas bubbles effectively. | Knead the dough thoroughly until it passes the “windowpane test”. |
By addressing these common why did my dough not rise issues, you can troubleshoot and improve your bread baking results, ensuring your dough rises to its full potential.
The Critical Role of Yeast Health and Activity
Yeast is key to making dough rise well. Knowing how to keep it healthy is important for avoiding yeast issues and proofing problems. Good yeast care can make your bread light and airy, or a dense mess.
Testing Yeast Viability
Before you start baking, check if your yeast is alive and ready. A simple yeast viability test can tell you if it’s good to go. Just mix a bit of yeast with warm water to see if it bubbles up.
Proper Yeast Storage Methods
Keeping yeast in the right place is crucial. It should be in the fridge to stay fresh. Make sure your yeast is sealed tight and in a cool, dry spot to last longer.
Different Types of Yeast and Their Requirements
- Active Dry Yeast – Needs to be proofed in warm water before adding to dough.
- Instant Yeast – Can go straight into the dough without proofing.
- Fresh (Cake) Yeast – Must be used fast and kept cold.
| Yeast Type | Proofing Requirements | Shelf Life |
|---|---|---|
| Active Dry Yeast | Requires proofing in warm water | 6-12 months refrigerated |
| Instant Yeast | Can be added directly to dough | 6-12 months refrigerated |
| Fresh (Cake) Yeast | No proofing needed | 1-2 weeks refrigerated |
Knowing what your yeast needs can help your dough rise better. This leads to tasty, well-made baked goods every time.
“Understanding the nuances of yeast and how to properly care for it is the foundation of successful bread baking.”
Temperature Matters: Optimal Conditions for Rising
Getting the perfect rise in homemade dough is all about temperature. The kitchen’s temperature and the dough’s temperature affect yeast activity and rising time.
The kitchen temperature should be between 70-85°F (21-29°C) for the best rise. This range is perfect for yeast to work well and make dough light and airy. If it’s too cold, yeast works slow. If it’s too hot, yeast works too fast, causing dough to collapse.
To help your dough rise perfectly, try these tips:
- Preheat your oven to the lowest setting and turn it off. Then, place the dough inside to proof. The warm oven keeps the dough at the right kitchen temperature.
- If your kitchen is cool, put the dough near a sunny window or a heat source. This gives it a temperature boost.
- Don’t put the dough in direct sunlight or near a heat vent. These extreme temperatures can mess up the dough rising factors.
Consistency is important for kitchen temperature and dough rising factors. Watch your dough closely during rising. Adjust the environment as needed for a perfect rise.

“The right temperature is the difference between a dough that rises to perfection and one that falls flat.”
Water Temperature and Hydration Levels
Mastering bread baking starts with understanding water temperature and hydration levels. These factors greatly affect dough rise and baked goods texture. Let’s explore their importance in bread baking troubleshooting and recipe adjustments.
Correct Water Temperature Range
The best water temperature for yeast proofing is between 105°F and 115°F. This warm range activates yeast, starting fermentation. Fermentation releases carbon dioxide, making the dough rise. Water that’s too hot or cold can slow yeast activity and prevent dough rise.
Understanding Dough Hydration
- The right hydration level is key for perfect dough consistency and rise.
- Most bread recipes need 60-75% water by weight compared to flour.
- Changing hydration can fix issues like dense or sticky dough.
Impact of Different Liquid Ingredients
While water is common in bread, you can also use milk, buttermilk, or fruit. Each liquid changes flavor, texture, and rise. Trying different liquids can help you adjust your recipes for the perfect bread.
“Getting the water temperature and hydration levels just right is the foundation for a perfectly risen, bakery-quality loaf of bread.”
By focusing on water and hydration, you’ll tackle bread baking challenges. You’ll also fine-tune your recipes for amazing results.
The Impact of Salt and Sugar on Dough Rising
Baking is all about finding the right balance. Salt and sugar are key players in making your bread rise. Knowing how they affect yeast and fermentation is crucial for a great loaf.
The Role of Salt
Salt does more than add flavor. It controls yeast fermentation. The right amount of salt helps the dough rise just right. Too little or too much can mess up the rise.
The Impact of Sugar
Sugar feeds yeast, making it rise faster. But too much sugar can make the dough dense. Finding the right sugar amount is important for a light, airy loaf.
| Ingredient | Impact on Dough Rising | Recommended Ratio |
|---|---|---|
| Salt | Regulates yeast activity and carbon dioxide production | 1/2 to 1 teaspoon per 3 cups of flour |
| Sugar | Feeds the yeast, accelerates fermentation | 1 to 2 tablespoons per 3 cups of flour |
Understanding salt and sugar’s role in dough rising can improve your bread. It’s all about the right balance for a perfect loaf.
Proper Kneading Techniques and Duration
Kneading is key in bread baking. It develops gluten, traps air, and creates texture. Learning to knead well can greatly improve your bread’s rise and texture.
Let’s look at hand versus machine kneading. We’ll also cover signs of good kneading and common mistakes.
Hand Kneading vs. Machine Kneading
Hand and machine kneading both have benefits. Hand kneading lets you feel the dough’s changes. It’s great for beginners to understand the dough.
Machine kneading is faster and better for big batches. It’s efficient and consistent.
Signs of Properly Kneaded Dough
- Smooth, elastic, and not sticky to the touch
- Passes the “windowpane test” – when a small piece of dough is stretched thin enough to see light through it without tearing
- Dough springs back when poked with a finger
Common Kneading Mistakes
- Overworking the dough, leading to a tough, dense texture
- Insufficient kneading, resulting in poor gluten development and a flat, dense loaf
- Kneading with too much flour, causing the dough to become dry and crumbly
Mastering the right kneading technique and time will help you improve your bread. You’ll get better results in your kitchen.
Flour Quality and Protein Content
Baking the perfect loaf of bread starts with the flour’s quality and protein content. The flour you pick can greatly affect your bread’s texture and rise. It’s key to getting the right dough rise.
Flour with more protein, known as “bread flour,” is best for a light and airy crumb. It has more gluten-forming proteins. These proteins help the dough rise well. All-purpose flour, while good for many things, might not give you the same rise and texture.
- Ingredient quality: Choose high-quality, fresh flour from trusted brands. This ensures the best ingredient quality and baking results.
- Recipe adjustments: If you switch flour types, you might need to change your recipe adjustments. You might need to adjust how much water or how long to knead. This helps get the dough just right.
“The difference between good bread and great bread often lies in the quality of the flour used.”
Knowing about flour quality and protein content helps you make better choices. This leads to dough that rises beautifully. It makes baking a joy and a success.

Environmental Factors Affecting Dough Rise
The environment is key in baking. Humidity, altitude, and seasons can change how dough rises. Knowing how these factors affect dough is crucial for great baked goods.
Humidity Levels
Humidity greatly affects dough rising. High humidity slows down yeast activity, making dough rise slower. Low humidity causes dough to dry out, stopping it from rising well. Adjusting your baking to match the humidity can help.
Altitude Considerations
Baking at high altitudes is tricky. The air pressure is lower, making yeast work faster. To fix this, use less yeast or leavening agents to control the rise.
Seasonal Changes
Seasons change the kitchen temperature and dough rising factors. Warmer months speed up yeast activity, while cooler months slow it down. Adjusting proofing times helps achieve consistent results all year.
Understanding environmental impacts on dough rising helps bakers. By adapting to humidity, altitude, and seasons, you can make perfect loaves and pastries every time.
Common Recipe Mistakes to Avoid
Successful bread baking is more than just following a recipe. It’s about mastering recipe adjustments and essential baking tips. Let’s look at common mistakes to avoid and how to fix them.
- Inaccurate Ingredient Measurements: Accurate measurements are key for dough rise. Use the right measuring tools and avoid guessing. A reliable kitchen scale is best for precise results.
- Overlooking Proofing Times: Rushing proofing can harm the dough’s rise. Stick to the recommended times and watch for visual signs like dough doubling.
- Ignoring Dough Hydration: The right liquid to flour ratio is vital. Too dry and it won’t rise; too wet and it’s sticky. Adjust the recipe as needed for the right hydration.
- Improper Kneading Techniques: Kneading develops gluten for rise. Knead for the right time and use the best techniques for the perfect texture.
By fixing these common mistakes and making the right adjustments, you’ll get dough that rises perfectly. Baking is both science and art. So, don’t hesitate to experiment and find what works for you.
“Baking is like chemistry, but delicious.” – Unknown
Conclusion
We’ve explored the important parts of bread baking, like dough rising. We’ve also found ways to fix common problems. You now know how yeast works and how temperature affects it. Plus, you’ve learned about kneading and avoiding recipe mistakes.
Success in bread baking is a mix of science and art. Paying attention to your ingredients and surroundings helps. This way, you’ll make loaves that impress everyone. So, use what you’ve learned and start baking with confidence and a love for bread baking troubleshooting and baking tips.
Whether you’re new or experienced, mastering dough rising is key. It’s about understanding the basics, being detail-oriented, and being patient. With this guide, you’re ready to become a bread-baking expert. You’ll make loaves that look great and taste amazing.
FAQ
What are the common reasons why my dough did not rise?
There are a few main reasons your dough might not rise. These include issues with yeast, wrong temperature, not enough kneading, and recipe or ingredient problems.
How does yeast play a role in dough rising?
Yeast is key for dough rising. It makes carbon dioxide gas. This gas gets trapped in the dough, making it expand and rise.
What is the impact of temperature on dough rising?
Temperature is very important for dough rising. It should be between 75-85°F. Too cold, yeast won’t work. Too hot, yeast dies, and the dough won’t rise.
How does kneading affect dough rising?
Kneading is crucial for dough rising. It develops the gluten, trapping carbon dioxide. Without enough kneading, the dough won’t rise well.
What is the role of water temperature and hydration in dough rising?
Water temperature and dough hydration are key. The water should be 105-115°F. Proper hydration helps the dough rise light and airy.
How do salt and sugar affect dough rising?
Salt and sugar both affect yeast and dough rising. Salt slows yeast growth, while sugar feeds it, helping fermentation. Finding the right balance is important.
What is the impact of flour quality and protein content on dough rising?
Flour quality and protein content matter a lot. Higher protein flours, like bread flour, make more gluten. This can help the dough rise better. Choosing the right flour is key.
How do environmental factors like humidity and altitude affect dough rising?
Humidity and altitude can change how dough rises. High humidity makes it hard for the dough to dry and crust. High altitudes affect yeast activity and fermentation.
What are some common recipe mistakes that can lead to dough not rising?
Recipe mistakes can stop dough from rising. These include wrong ingredient amounts, bad proofing times, or old yeast. Always follow the recipe carefully.