
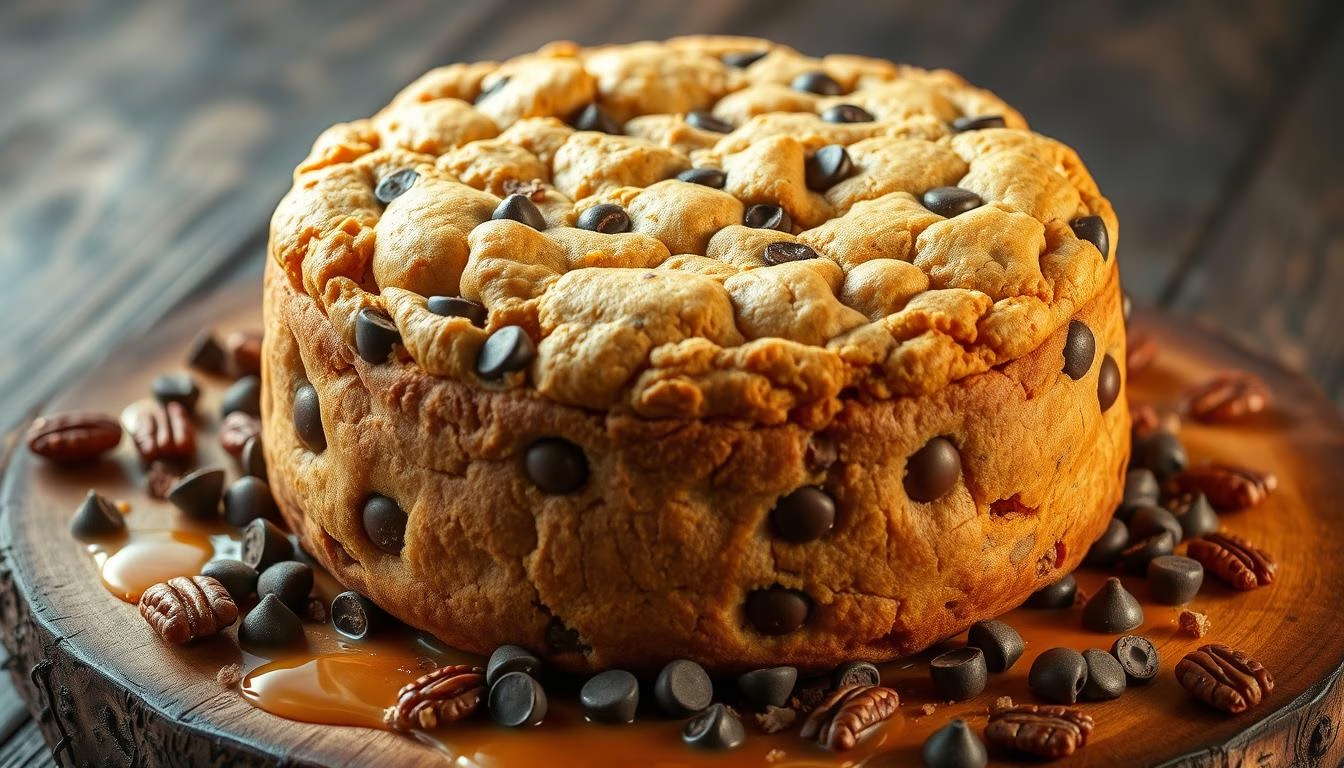
Nothing beats the joy of a warm, homemade cookie cake, especially when it’s baked from scratch! This easy cookie cake recipe is perfect for birthdays, holidays, or just an everyday treat. With a crisp golden edge and a soft, chewy center loaded with melty chocolate chips, it’s a guaranteed crowd-pleaser.
What makes this cookie cake stand out? It’s incredibly simple to make with pantry-friendly ingredients—flour, butter, sugar, eggs, and plenty of chocolate. The best part? It only takes 15 minutes to prepare and bakes in under an hour, making it a great option for both beginner and experienced bakers.
Want to get creative? Customize your cookie cake with sprinkles, nuts, or even a drizzle of caramel for an extra indulgent touch. Whether you’re celebrating a special occasion or just craving something sweet, this easy, homemade cookie cake is the ultimate dessert to share and enjoy!
For more dessert inspiration, check out this pistachio raspberry cake recipe that’s equally delightful. Now, let’s dive into the details and make your next celebration extra sweet!

Cookie Cake
Equipment
- Electric mixer for blending dough
- 9-inch round cake pan greased
- Spatula for spreading dough evenly
- Oven preheated to 350°F
Ingredients
- 1 cup unsalted butter softened
- 1 cup granulated sugar
- 1 cup light brown sugar packed
- 2 large eggs room temperature
- 2 tsp vanilla extract
- 2.5 cups all-purpose flour sifted
- 1 tsp baking soda
- 0.5 tsp salt
- 2 cups chocolate chips semi-sweet or milk chocolate
Instructions
- Preheat your oven to 350°F (175°C) and grease a 9-inch round cake pan.
- In a mixing bowl, beat together the softened butter, granulated sugar, and brown sugar until creamy. Add the eggs and vanilla extract, mixing until well combined.
- In a separate bowl, whisk together the flour, baking soda, and salt. Gradually add the dry ingredients to the wet ingredients, mixing until a dough forms.
- Fold in the chocolate chips evenly throughout the dough.
- Press the dough into the prepared cake pan, spreading it evenly with a spatula. Bake for 18-20 minutes or until the edges are golden and the center is set.
- Allow the cookie cake to cool before decorating with frosting or sprinkles as desired. Slice and serve.
Notes
- Optional Equipment: Piping bag for frosting decorations.
- Customization: Add M&Ms or colorful sprinkles to the dough for a festive look.
- Storage: Store in an airtight container at room temperature for up to 3 days.
- Serving Tip: Best enjoyed with a scoop of vanilla ice cream or a glass of milk.
Nutrition
Celebrating the Cookie Cake Tradition
There’s a special kind of magic in creating traditions that last a lifetime. For me, it all started with a cookie cake on my 10th birthday. I still remember the excitement of seeing that giant, chocolate-filled treat with my name written in frosting. It wasn’t just a dessert—it was a moment of pure joy that left a lasting impression.
Over the years, cookie cakes have become a beloved part of celebrations across the country. From birthdays to family gatherings, they’ve evolved into more than just a treat—they’re a symbol of togetherness. Their unique charm lies in their simplicity and versatility. Whether it’s a classic chocolate chip or a creative twist with sprinkles, there’s something for everyone.
What makes this tradition even more special is how easy it is to bring into your own home. Making a cookie cake from scratch is not only affordable but also a fun way to create memories with loved ones. It’s a dessert that doubles as a centerpiece, making any occasion feel extra special.
Historically, cookie cakes gained popularity in the U.S. as a unique alternative to traditional cakes. They became a hit for birthdays, parties, and even as thoughtful gifts. Their rise in popularity speaks to their ability to bring people together in the sweetest way possible.
I encourage you to embrace this tradition and make it your own. Whether it’s for a birthday, holiday, or just because, a homemade cookie cake is sure to create lasting memories. Let’s celebrate the joy of baking and the magic of traditions that bring us closer.
Ingredients and Essential Tools
The foundation of any great dessert lies in its ingredients and tools. To create a treat that’s both delicious and visually stunning, you’ll need a mix of high-quality components and the right equipment. Let’s break it down so you’re fully prepared to bake with confidence.
Must-Have Ingredients for Your Cookie Cake
Every ingredient plays a crucial role in achieving the perfect texture and flavor. Start with butter—room temperature is key for a smooth dough. Combine it with granulated sugar and brown sugar for a rich, moist base. The mix of sugars ensures a balance of sweetness and chewiness.
Add all-purpose flour to give structure, and don’t forget a pinch of salt to enhance the flavors. Baking soda helps the dough rise, while vanilla extract adds a warm, aromatic touch. Finally, fold in chocolate chips for that irresistible chocolaty bite.

Baking Tools and Equipment Overview
Having the right tools makes the process smoother and more enjoyable. A mixer ensures your dough is well-combined, while a sturdy bowl is essential for mixing ingredients. Use a 9-inch pan for even baking, and line it with parchment paper for easy removal.
For precise measurements, keep cups and spoons handy. If you’re looking to upgrade your baking arsenal, check out this guide to essential baking tools. It’s packed with tips to elevate your baking game.
Remember, quality ingredients and tools are the backbone of any successful dessert. Gather everything before you start, and you’ll be ready to create something truly special.
Step-by-Step Cookie Cake Recipe
Ready to transform simple ingredients into a show-stopping treat? Here’s how! Follow this detailed guide to create a dessert that’s perfect for any occasion. Whether you’re a beginner or a seasoned baker, these steps will make the process fun and rewarding.
Preparing the Cookie Dough
Start by preheating your oven to 350°F. In a large bowl using a mixer, beat together ½ cup softened butter, ¾ cup brown sugar, and ¼ cup granulated sugar for 3-4 minutes until light and fluffy. This step is crucial for achieving the perfect texture.
Next, add one large egg and 2 teaspoons of vanilla extract. Mix until fully combined. In a separate bowl, whisk together 1½ cups all-purpose flour, 1 teaspoon baking soda, and ½ teaspoon salt. Gradually add the dry ingredients to the wet mixture, blending just until incorporated.
Fold in 1 cup of chocolate chips to create a thick, evenly distributed batter. For the best results, chill the dough for at least 30 minutes. This helps the flavors meld and ensures the dessert holds its shape during baking.

Baking Process and Oven Tips
Once the dough is chilled, transfer it to a 9-inch round cake pan lined with parchment paper. Press it evenly into the pan for consistent baking. Place the pan in the preheated oven and bake for 20-25 minutes. Keep an eye on the edges—if they brown too quickly, tent the pan with foil.
After baking, let the dessert cool completely in the pan for 15 minutes. This step is essential for achieving the perfect texture. Once cooled, transfer it to a wire rack to finish cooling before adding any toppings.
For more creative dessert ideas, check out this churro cheesecake cookies recipe. It’s a delightful twist on classic flavors that’s sure to impress!
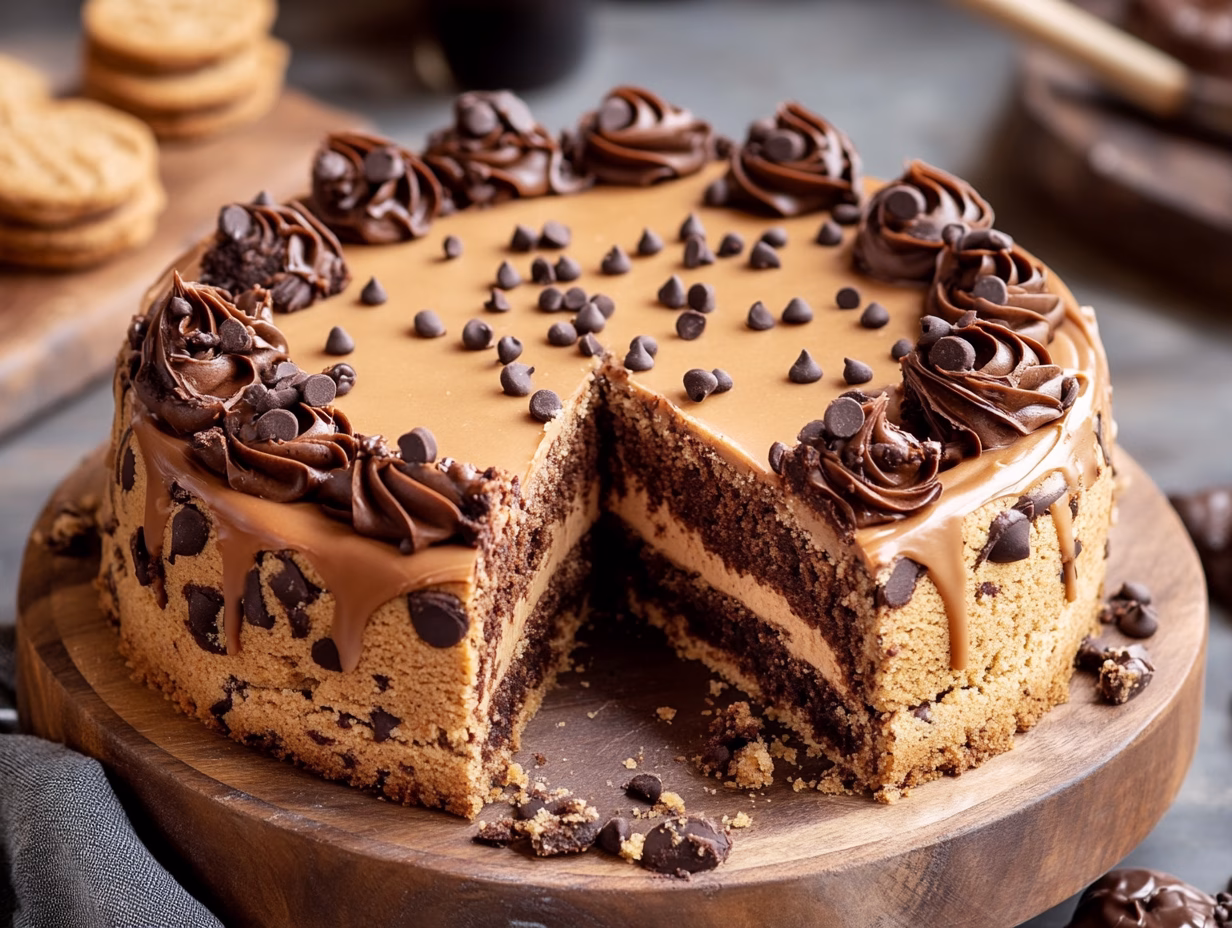
Creative Frosting and Decoration Ideas
Adding the perfect frosting and decorations can turn a simple dessert into a masterpiece. Whether you’re a beginner or a seasoned baker, these techniques will help you create a treat that’s as beautiful as it is delicious. Let’s dive into some creative ideas to make your dessert stand out!
Homemade Vanilla and Chocolate Frosting Techniques
Start with a smooth base for your frosting. Beat 4 tablespoons of softened butter until creamy. Gradually add 1 ¼ cups of confectioners’ sugar, mixing until light and fluffy. For vanilla frosting, blend in ½ teaspoon of vanilla extract and 1-2 tablespoons of heavy cream for the perfect consistency.
For chocolate frosting, mix in ¼ cup of cocoa powder with the confectioners’ sugar. Adjust the texture by adding more cream or powdered sugar as needed. This creates a rich, velvety frosting that’s perfect for spreading or piping.

Fun Decoration and Finishing Touches
Once your frosting is ready, it’s time to get creative! Use a piping bag with a star tip to create swirls around the edges. For a bold look, try a Wilton 1M or 2D tip to add elegant chocolate swirls. These techniques are simple yet impactful, even for novice bakers.
Add a pop of color with sprinkles. Rainbow sprinkles are a fun, celebratory touch that appeals to both kids and adults. For a more sophisticated look, try edible glitter or metallic dragees. Experiment with different designs to match your personal taste or the occasion.
Ensure your dessert is completely cooled before adding frosting. This prevents it from melting and keeps your decorations intact. For more inspiration, check out these innovative cookie trends for 2025. They’re packed with creative ideas to elevate your baking game!
Remember, the key to great decoration is having fun and letting your creativity shine. Whether it’s a simple swirl or an elaborate design, your dessert will be a showstopper that everyone will love.
Make-Ahead and Storage Secrets
Planning ahead can make baking easier and more enjoyable. One of my favorite tricks is preparing the dough in advance. It saves time and ensures you’re always ready to bake something special. Let me share some expert tips to help you store your dough properly while keeping it fresh and flavorful.
Dough Preparation, Chilling, and Freezing Tips
Preparing your dough ahead of time is a game-changer. Start by mixing your ingredients as usual. Once the dough is ready, you can chill it in the fridge for 1-2 days. This step enhances the flavor and texture, giving you a richer, more consistent result.
If you need to store it longer, freezing is the way to go. Wrap the dough tightly in plastic wrap or place it in an airtight container. It can stay frozen for 2-3 months. When you’re ready to bake, thaw it overnight in the refrigerator. This gradual process ensures the dough maintains its quality.
- Chilling: Keep the dough in the fridge for 1-2 days for optimal texture.
- Freezing: Store it in the freezer for up to 3 months for long-term use.
- Thawing: Let it thaw in the fridge overnight before baking.
Always bring the dough to room temperature before baking. This ensures even baking and a perfect texture. From my experience, pre-measuring ingredients and prepping tools in advance can also save you valuable time.
These make-ahead strategies are perfect for busy schedules. They allow you to enjoy fresh-baked treats without the last-minute rush. For more tips on storing batter, check out this guide on refrigerating cake batter.
Remember, well-stored dough can still lead to a delicious dessert. With these tips, you’ll always be ready to bake something amazing, any day of the week!
Baking Science and Flavor Enhancements
Baking is both an art and a science, where every ingredient plays a vital role. Understanding how these components interact can elevate your baking game. Let’s dive into the chemistry behind the flavors and textures you love.
Understanding Sugar, Butter, and Flour Roles
Sugar isn’t just for sweetness—it’s a key player in texture and browning. Granulated sugar creates air pockets, helping your dessert rise, while brown sugar adds moisture for a chewy texture. I’ve found that a mix of both delivers the perfect balance.
Butter provides richness and structure. When creamed with sugar, it traps air, giving your treat a light, fluffy texture. Room-temperature butter is essential for smooth blending. This simple step ensures even distribution of flavors.
Flour is the backbone of any baked good. It provides structure and stability. All-purpose flour works well for most recipes, but experimenting with different types can yield unique results. For example, bread flour can add chewiness, though it’s not always necessary.
Vanilla extract is more than just a flavor enhancer—it’s a game-changer. Its aromatic compounds add depth and warmth to your dessert. A teaspoon can transform the entire profile, making it a must-have in your pantry.
Baking soda is the unsung hero of rising. It reacts with acidic ingredients to create air bubbles, ensuring your treat has the perfect lift. Too much, though, can leave a bitter taste, so measure carefully.
Each ingredient works in harmony to create balance. Understanding their roles allows you to experiment confidently. For more tips on achieving the perfect texture, check out these pro tips for baking fluffy cakes.
Don’t be afraid to tweak quantities or try substitutions. The beauty of baking lies in its flexibility. With a solid grasp of the science, you can create desserts that are as unique as you are!
Get Ready to Enjoy Your Amazing Cookie Cake!
Baking a treat that becomes the centerpiece of celebrations is truly special. From preparing the dough to adding creative decorations, this cookie cake recipe is designed to bring joy to any occasion. Whether it’s a birthday or a simple gathering, this dessert is sure to create lasting memories.
What makes this recipe stand out is its simplicity and versatility. You can customize it with your favorite mix-ins, like chip cookie pieces, or keep it classic with a glass of milk. The process is fun, affordable, and perfect for bakers of all skill levels.
I encourage you to try this recipe and make it your own. Share your creations and experiences with the baking community. With these tips and techniques, you’ll feel confident and inspired to bake something unforgettable. Let’s celebrate the magic of homemade desserts together!
FAQ
Can I use a different type of sugar for this recipe?
Absolutely! While granulated and brown sugar work best, you can experiment with coconut sugar or a sugar substitute. Just keep in mind it might slightly alter the texture and flavor.
How do I prevent the edges from burning?
To avoid over-browning, bake in the center of the oven and check halfway through. If the edges are browning too quickly, cover them with foil for the remaining time.
Can I make this ahead of time?
Yes! You can prepare the dough a day in advance and refrigerate it. Alternatively, bake it, let it cool completely, and store it in an airtight container for up to 3 days.
What’s the best way to decorate this dessert?
Get creative! Use homemade frosting, sprinkles, or even fresh fruit. A piping bag works wonders for adding decorative touches with ease.
Can I freeze the dough or baked product?
Definitely! Freeze the dough in a sealed container for up to 3 months. For the baked version, wrap it tightly in plastic wrap and freeze. Thaw at room temperature before serving.
What’s the secret to a soft and chewy texture?
The key is to not overbake it. Remove it from the oven when the center is slightly soft, as it will firm up while cooling. Using room temperature butter also helps!
Can I use a different type of chocolate?
Of course! Semi-sweet chocolate chips are classic, but you can use milk chocolate, dark chocolate, or even white chocolate for a unique twist.
How do I know when it’s done baking?
The edges should be golden brown, and the center should look set but still slightly soft. A toothpick inserted near the edge should come out clean.